The Partially Gilded Chocolate Horse
March 14, 2018
“Well the horse is partially gilded...”
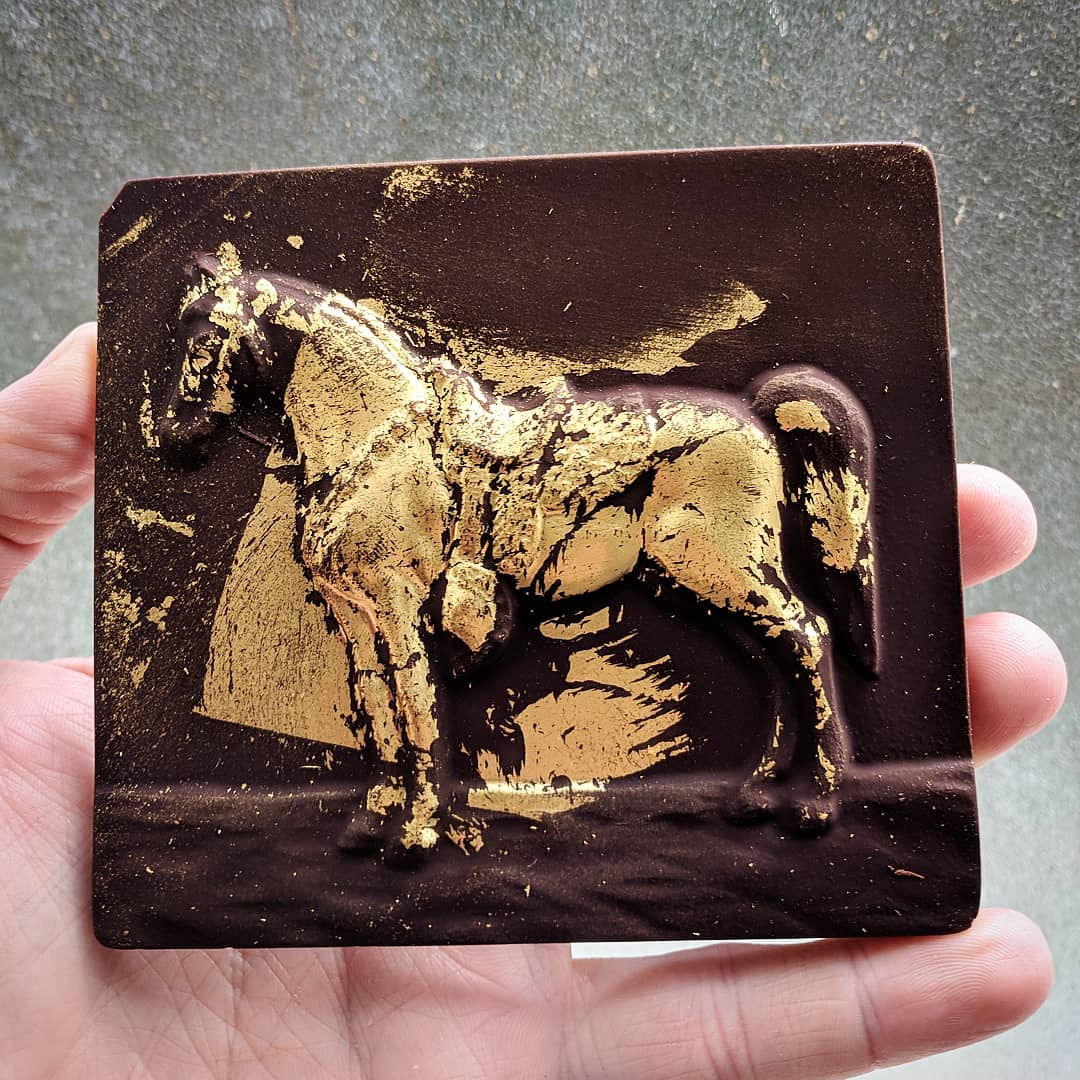
A dark chocolate plaque molded with a standing horse in relief, the horse picked out in gold leaf. Well, the horse is partially gilded...
Horses show up all over my feed, so a chocolate one was only a matter of time. Molded chocolate has to be tempered first, a cycle of heating, cooling and reheating that sets the cocoa butter in its stable crystal form. Tempered chocolate shrinks slightly as it sets, releases cleanly from the mold and takes on a gloss and snap. Gold leaf is so thin it tears on a breath, which is why coverage on a detailed relief is rarely complete on a first try.
This article is written in Corey’s voice for this tribute site, based on his captions and blog. His own words are the quotes above.
Tempered Dark Chocolate, Molded and Gilded
Cocoa butter can set in six different crystal forms, and only one of them, known as Form V, gives chocolate its gloss, clean snap and resistance to melting in the hand. Tempering is the controlled melting, cooling and stirring that makes the chocolate set in that form. This recipe tempers dark chocolate by seeding, molds it into bars and finishes them with edible gold leaf.
Ingredients
Chocolate
- 600 g dark couverture chocolate, 60 to 70 percent cacao, in callets or finely chopped (about 21 ounces)
Gilding
- 4 to 6 sheets edible gold leaf, 23 or 24 karat, sold as food grade (transfer or loose leaf)
Equipment
- Accurate digital probe or infrared thermometer
- Rigid polycarbonate bar molds, clean and completely dry
- Soft dry brush or tweezers for the gold leaf
Method
- Work in a cool, dry room, ideally 65 to 70°F (18 to 21°C). Polish the mold cavities with a cotton pad or soft cloth; any smear, scratch or drop of water will show on the finished bar.
- Set aside 200 g of the chocolate as seed. Melt the remaining 400 g in a dry bowl over barely simmering water, or in a microwave in 20 to 30 second bursts, stirring often, until it reaches 113 to 122°F (45 to 50°C) and every crystal has melted.
- Take the bowl off the heat and wipe the bottom dry. Add the seed chocolate in two or three additions, stirring constantly, until the temperature falls to 88 to 90°F (31 to 32°C). This recipe follows the seeding method.
- Lift out any pieces of seed that have not melted, or blend them in briefly with an immersion blender held below the surface.
- Test the temper by dipping the tip of a knife or a strip of parchment. At cool room temperature it should set within about 5 minutes with an even satin gloss and no streaks.
- Keep the chocolate at 88 to 90°F (31 to 32°C) while you work, warming it for a few seconds at a time and stirring. If it climbs past 93°F (34°C) the temper is lost and you must start again.
- Fill the molds, tap them firmly on the counter to release air bubbles, and scrape the tops level with a bench scraper or palette knife.
- Let the bars set in a cool place at 55 to 65°F (13 to 18°C), or in the refrigerator for 15 to 20 minutes, until the chocolate has shrunk slightly and the underside of a clear mold looks evenly detached. Turn the mold over and the bars should drop out with a light tap.
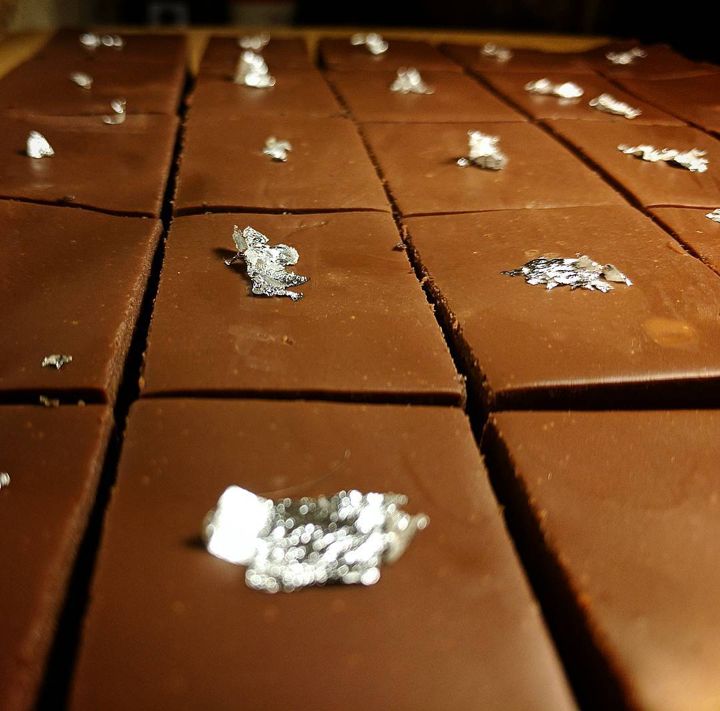
- To gild, handle the bars with cotton or nitrile gloves and work away from drafts. Lift the leaf with a dry brush or tweezers, or press a transfer sheet face down, and lay it on the surface; breathe lightly on the chocolate first, or use a tiny dot of tempered chocolate, to help it grip. Smooth it gently with the dry brush.
Chef’s notes
- Gray streaks or a dull, soft surface are fat bloom from poor temper: the chocolate was too warm when molded or was not stirred enough while cooling. Melt it back to 113 to 122°F (45 to 50°C) and temper again; nothing is wasted.
- A single drop of water or steam makes melted chocolate seize into a thick paste. Dry every tool, and keep the water under the bowl below a simmer.
- If the bars will not release, they are either not fully set or not tempered. Give them 10 more minutes in the cold; never pry them out, which marks the surface.
- Gold leaf sticks to fingers and tears in the slightest breeze. Use only leaf labeled edible at 23 karat or higher, since lower karat and imitation leaf contain other metals that are not food safe.
Seeding or tabling?
Seeding
Jacques Torres; Alice Medrich; the standard method in most home and small-shop teaching
Solid tempered chocolate is stirred into melted chocolate, cooling it and supplying stable crystals at the same time. It is clean, needs no special surface and is very reliable for small batches, which is why the main recipe uses it.
Tabling
Classical French training, as taught at Ferrandi Paris; described alongside seeding by Peter Greweling
Two-thirds of the melted chocolate is poured onto a marble slab and worked with a scraper and palette knife until it cools to about 81 to 82°F (27 to 28°C) and thickens, then returned to the warm remainder to bring it to working temperature. It is fast, needs no pre-tempered seed and teaches a chocolatier to read the chocolate by feel, but it takes practice, space and a cool marble.
Drawn from the methods of
- Peter Greweling, Chocolates and Confections (2007)
- Jacques Torres, Jacques Torres Chocolate
- Ferrandi Paris, French Pâtisserie (2017)
- Alice Medrich, Bittersweet (2003)
Corey has not published his own formula for this piece. This reference recipe is compiled from the published methods of the chefs and bakers listed above, written in our own words.