Standard Fare
By Corey Coleman · March 17, 2017 · Originally published on makingsomedough.wordpress.com
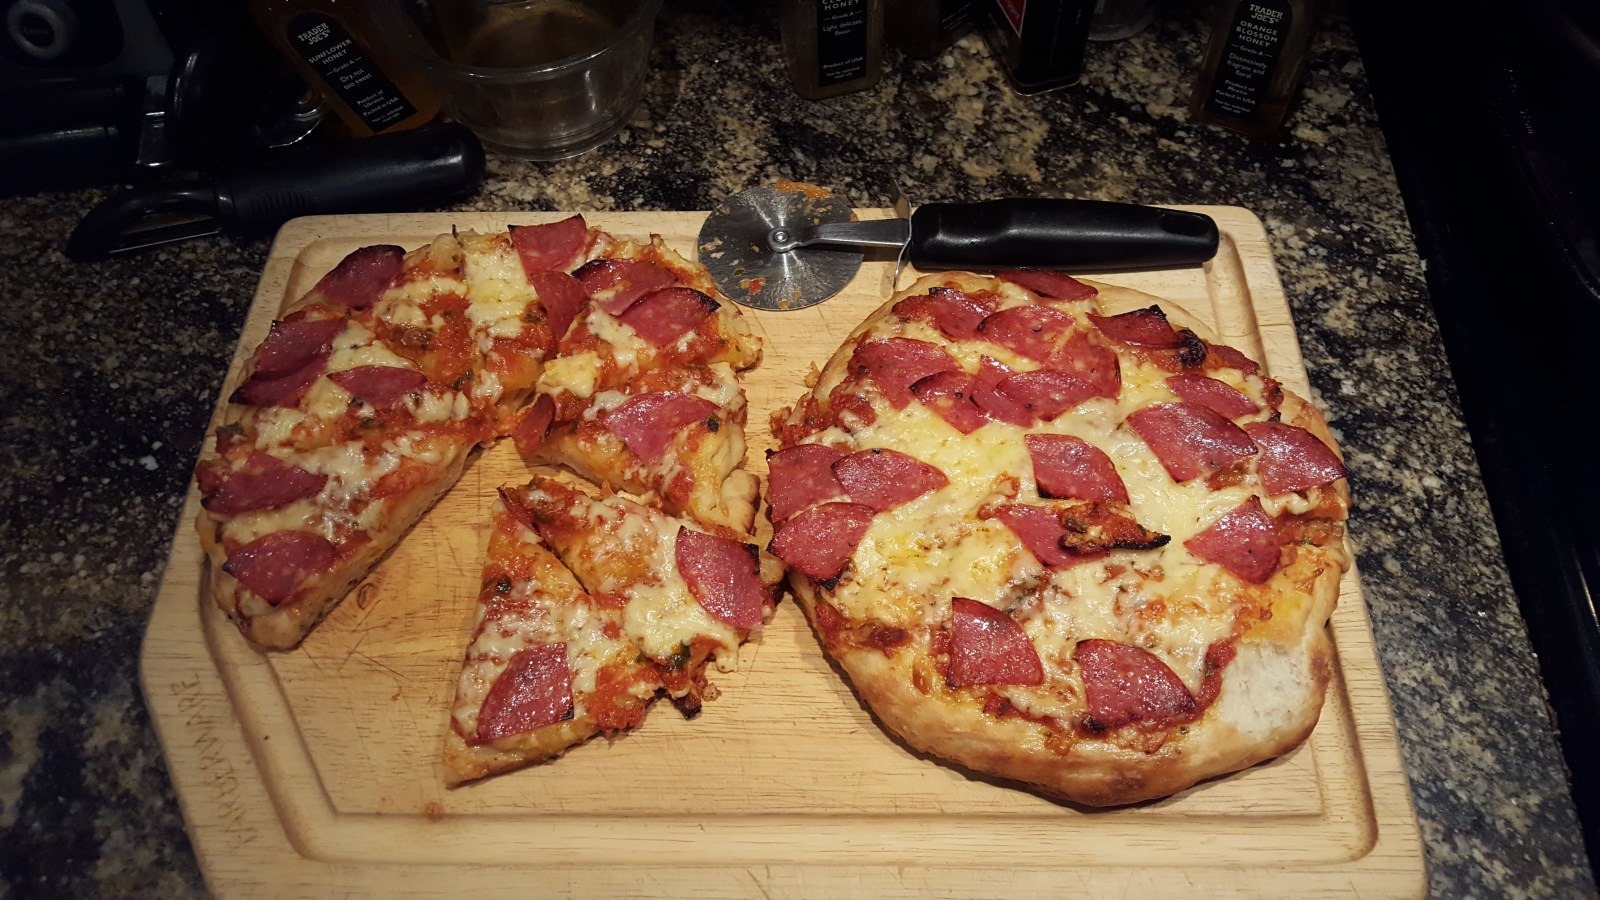
What’s more American than pizza? Well, a lot of things but that’s beside the point. The important part of pizza is not the toppings but rather the dough. A lot of places slather a Plain Jane dough with sauce and a mountain of toppings, to hide the fact that the dough is flavorless and dull. But before you settle for a tasteless sheet of cardboard, perhaps consider making it yourself…
Although the dough I’m making is a little on the puffier side as opposed to the thinner, crisper crust that’s more traditional Italian, it is nevertheless the most common type of dough used in the typical American style pizza.
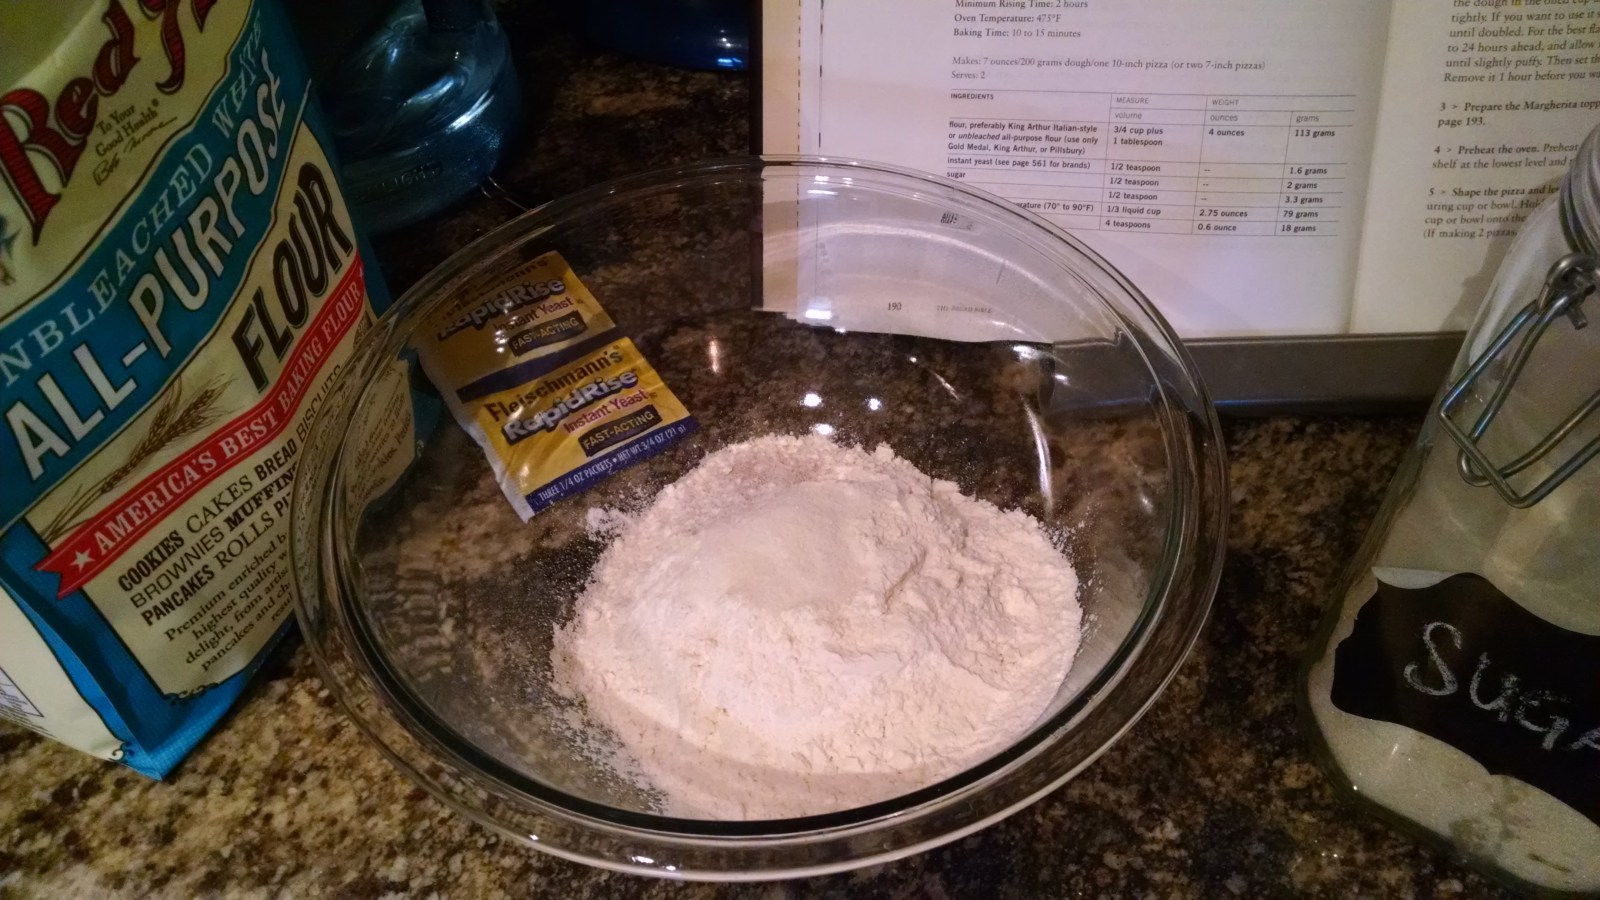
Pizza dough has a minimal rise time compared to a standard bread dough. It does, however, share something in common with almost all breads; though it is not a requirement, you can allow the dough to sit in the fridge for as long as twenty-four hours. This helps develop flavor in the dough, although your recipe may not even ask you to do that. I left it in the fridge overnight.
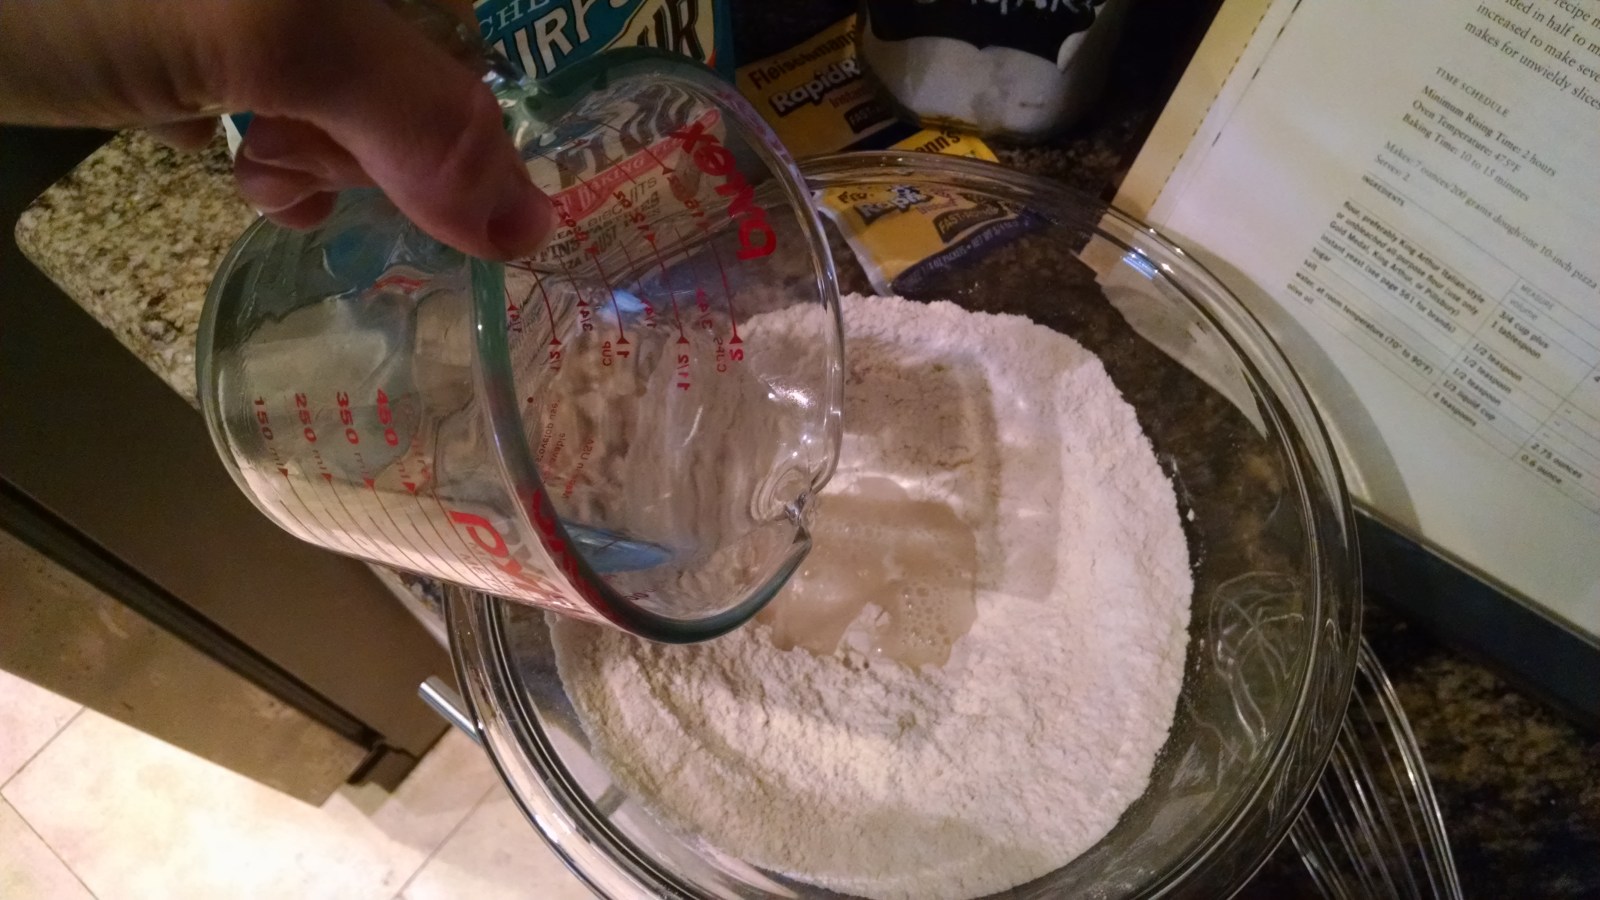
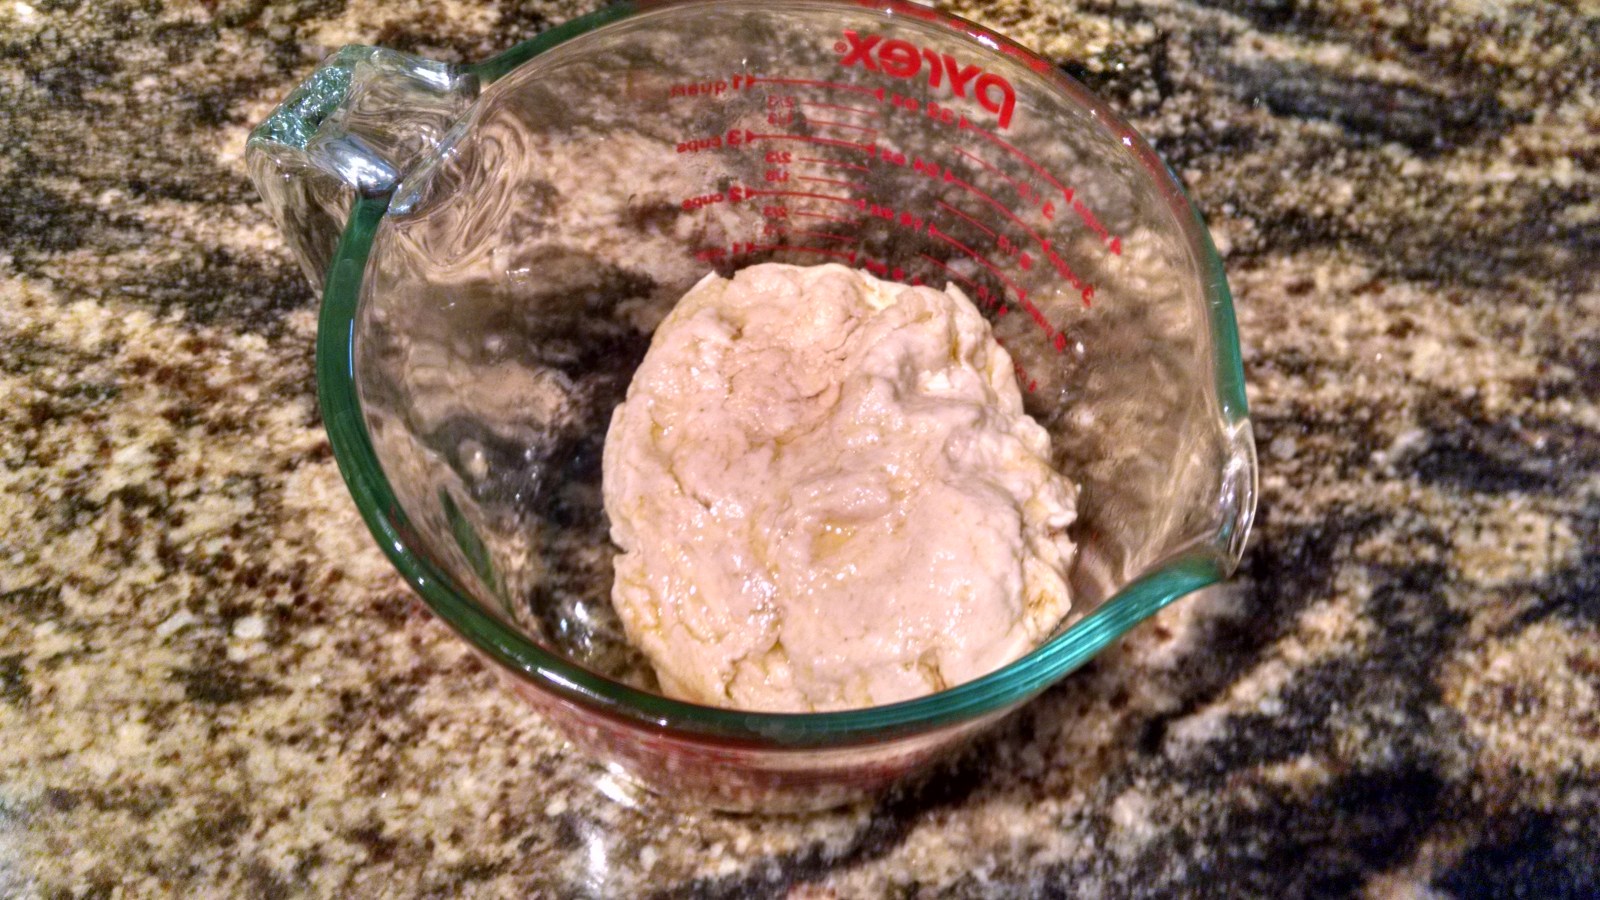
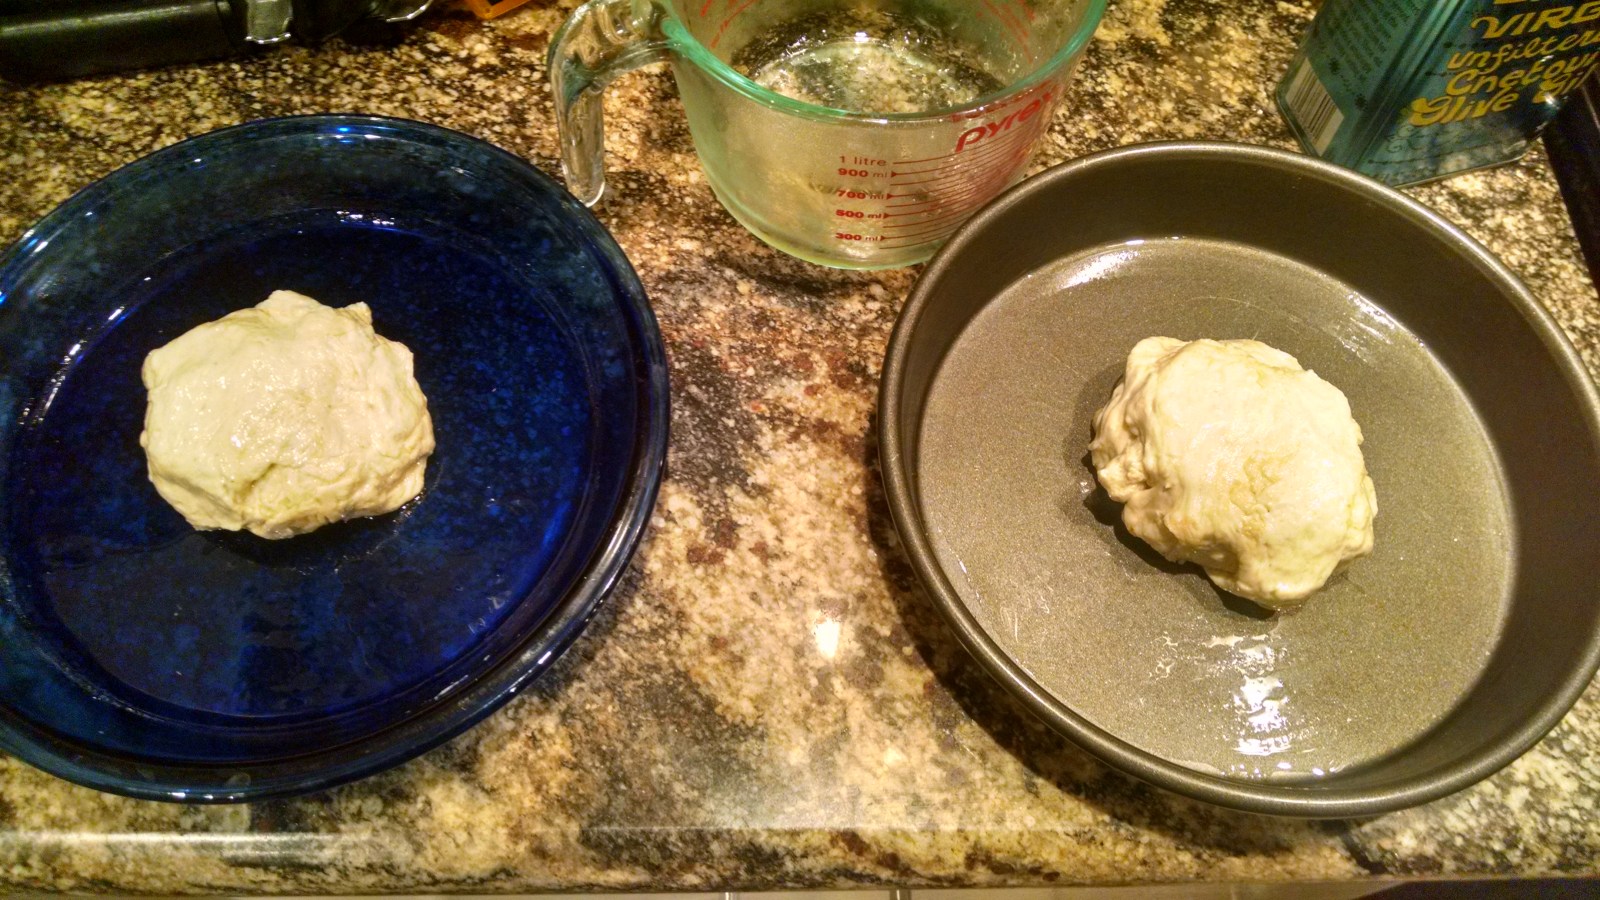
In general, you allow the dough to rise for an hour or two, or leave it in the fridge for part of the day. Then all that’s left is stretching, tossing or rolling out the dough. In my case the recipe asked that I put the doughs on oiled pizza pans (which I don’t have, so I used pie pans) and then stretch the dough to fit the pan.
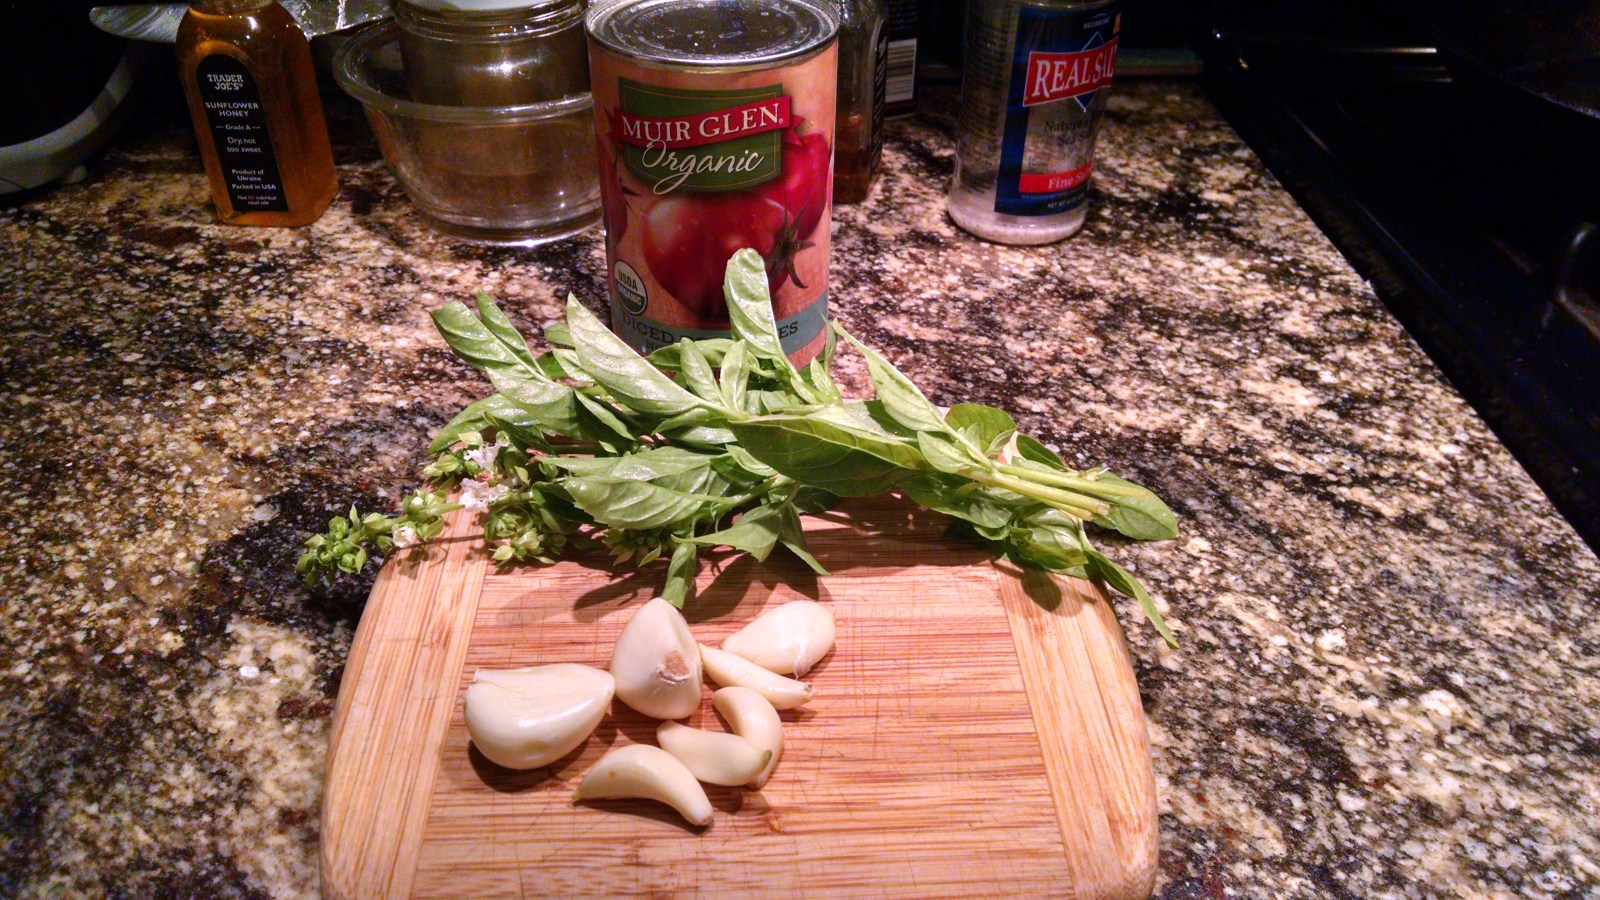
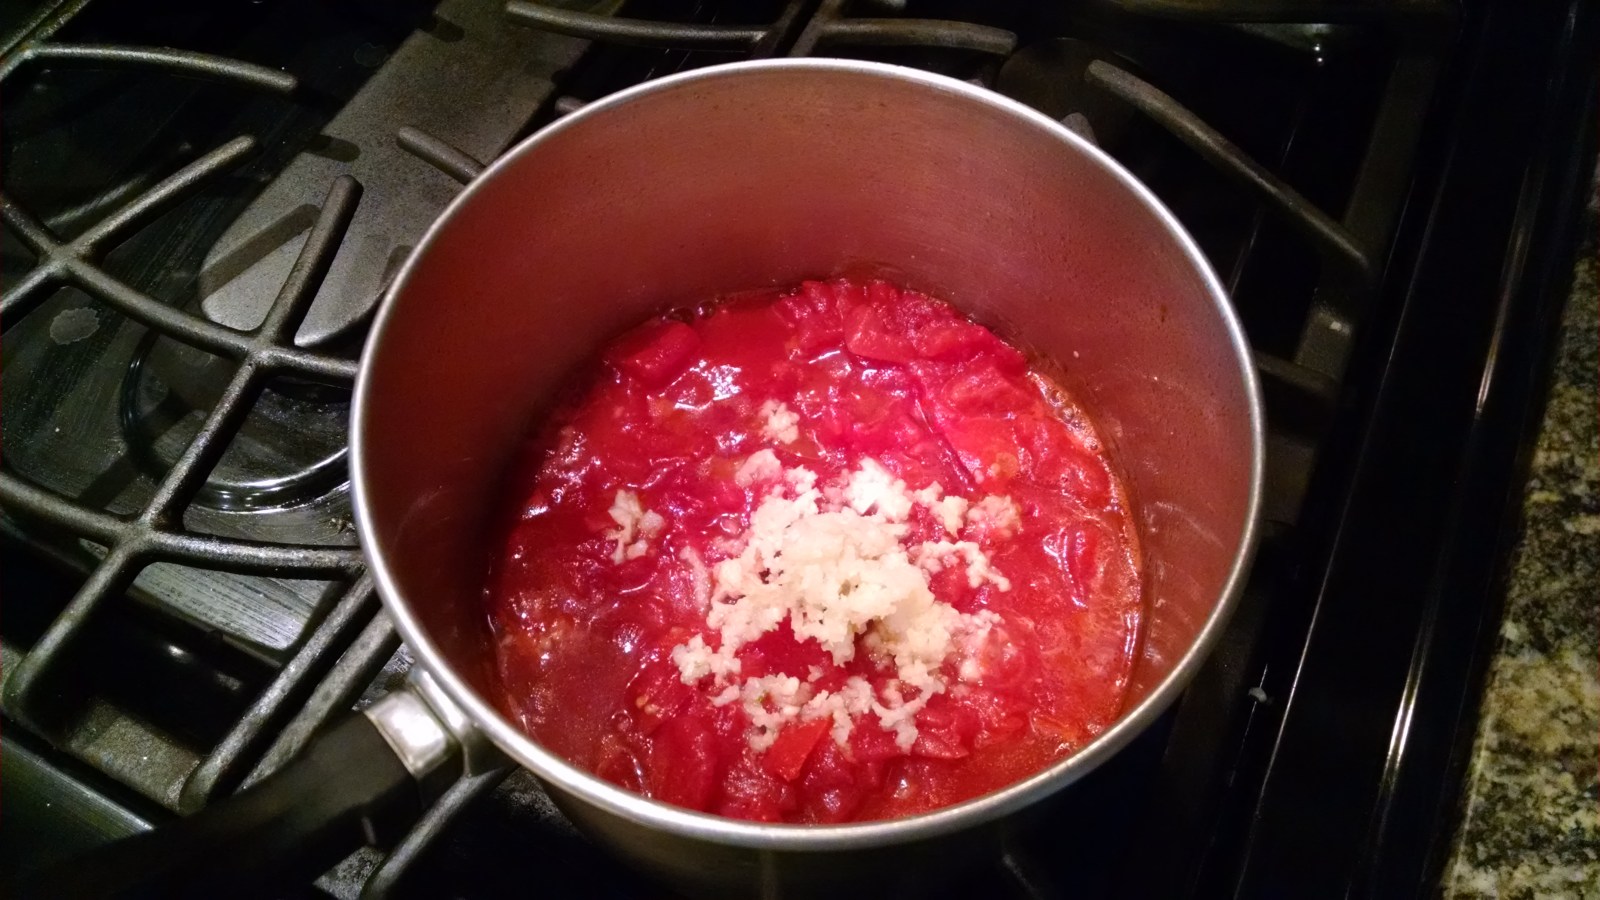
After the dough is pulled to the desired thickness, you may now add toppings. As I can also cook to a certain extent I chose to make my sauce from scratch. Once the toppings are all on, almost all pizza recipes call for you to use a pizza stone or an extremely hot oven. The only reason I know for this is that if you don’t bake a pizza in the ninth layer of Hell, the dough won’t get crisp fast enough and all those moisture-laden toppings will make the dough soggy, and in some cases, leave it uncooked in the center.
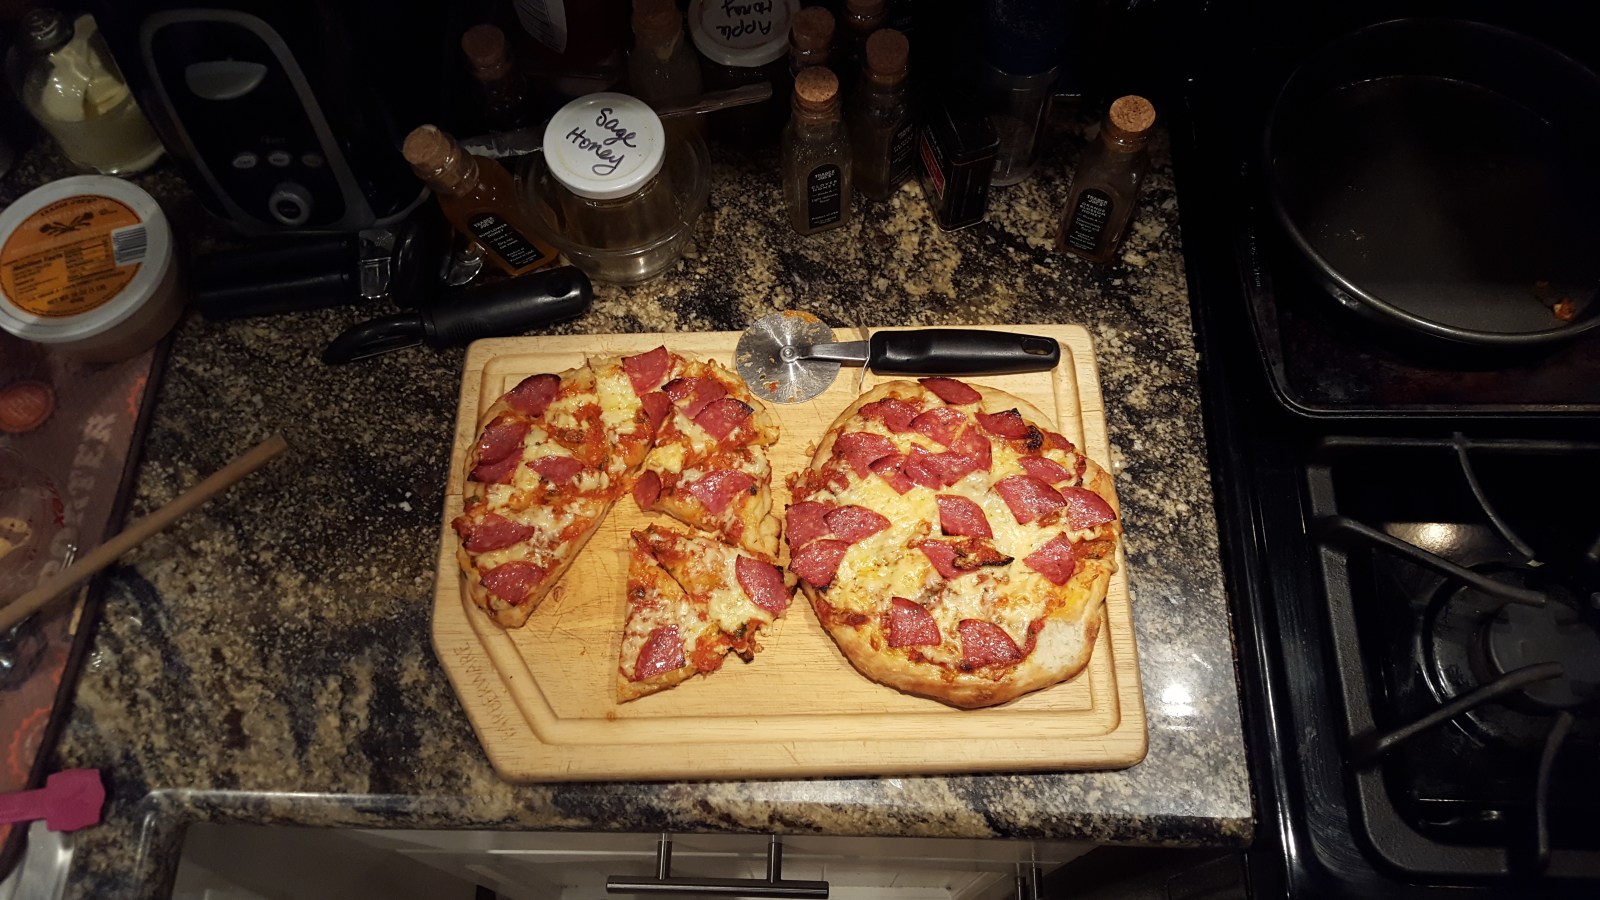
And so there you have it! The overnight rise really brought out a good flavor and the texture turned out extremely well. Overall, it was a very nice result. I am really noticing that the main trouble I run into is not the production of the dough but falling flat on the aesthetic presentation. To fine tune this recipe and work on the food-porn qualities, I’m going to need to eat a lot of my pizzas.
American Pan Pizza Dough
American pan pizza is baked in an oiled, straight-sided pan, so the base fries crisp while the inside stays light and airy, with cheese caramelised against the edges. The family includes Sicilian-American squares and the Detroit style, first baked in 1946 at Buddy's Rendezvous in blue steel pans borrowed from the auto industry. A wet dough and a long cold rise do nearly all the work.
Ingredients
Dough
- 400 g bread flour (3 1/4 cups)
- 290 g water at 75°F / 24°C (1 1/4 cups)
- 8 g fine sea salt (1 1/2 tsp)
- 2 g instant yeast (generous 1/2 tsp)
- 10 g olive oil (2 tsp)
For the pan
- 30 g olive oil (2 tbsp)
Simple topping
- 340 g low-moisture whole-milk mozzarella, cubed or coarsely grated (12 oz)
- 240 g crushed tomato sauce, seasoned with salt, garlic and oregano (1 cup)
- Grated Parmesan or pecorino and dried oregano, to finish
Method
- Stir the flour, water, salt, yeast and oil together in a large bowl until no dry flour remains. No kneading is needed. Cover and rest for 20 minutes.
- With a wet hand, stretch and fold the dough over itself 8 to 10 times around the bowl. Repeat after 20 minutes. The dough will go from shaggy to smooth and stretchy.
- Cover tightly and refrigerate for at least 12 hours and up to 72 hours. Time in the cold builds flavour and lets the gluten develop on its own.
- About 3 hours before baking, pour the pan oil into a dark metal 23 x 33 cm (9 x 13 in) pan and coat the base and sides. Turn the cold dough into the pan, flip it to coat with oil, and press it gently toward the corners. It will spring back.
- Cover and rest 20 minutes, then press again until the dough fills the pan to the corners. Cover and proof at warm room temperature for 2 to 2 1/2 hours, until puffy, bubbly and roughly doubled in height.
- Place a rack in the lowest position, with a baking stone or steel on it if you have one, and heat the oven to 500°F (260°C) for at least 30 minutes.
- Without deflating the dough, cover it with the cheese, pushing it right up against the pan walls. Spoon the sauce over the cheese in stripes or dollops.
- Bake on the lowest rack for 15 to 20 minutes, until the cheese at the edges is dark brown and lacy and the base is deep golden and crisp when lifted with a spatula.
- Run a thin spatula around the edges, slide the pizza onto a rack for 2 minutes so the base stays crisp, then finish with Parmesan and oregano and cut into squares.
Chef’s notes
- A pale, soft base is the usual fault. Use a dark metal pan, bake on the lowest rack on a preheated stone or steel, and if needed finish the pan on a stovetop burner over medium heat for 1 to 2 minutes.
- If the dough keeps shrinking from the corners, it needs rest, not force. Cover it for 15 minutes and it will relax.
- Do not shortcut the proof in the pan. Dough baked straight from cold comes out dense and gummy.
- Low-moisture mozzarella is essential. Fresh mozzarella releases water and steams the crust.
Drawn from the methods of
- Peter Reinhart, Perfect Pan Pizza (2019)
- King Arthur Baking Company
- Ken Forkish, The Elements of Pizza (2016)
- J. Kenji López-Alt, The Food Lab (2015)
Corey has not published his own formula for this piece. This reference recipe is compiled from the published methods of the chefs and bakers listed above, written in our own words.