Rolling out Dinner
By Corey Coleman · March 10, 2017 · Originally published on makingsomedough.wordpress.com
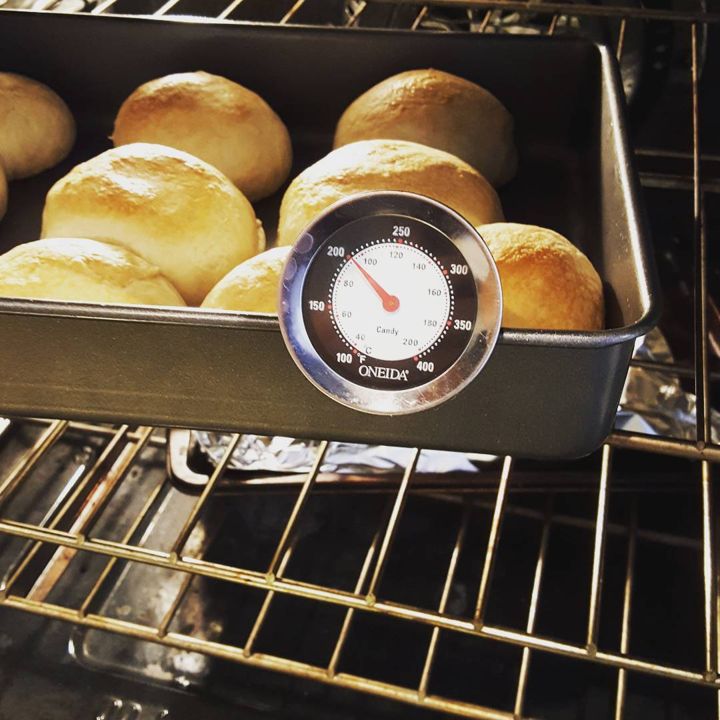
This is a subject that has been covered by many people in the past, but was also an essential part of most every dinner for many decades and in some form it have been apart of the dining experience for hundreds of years.
I am of course speaking of the dinner roll. The soft and moist bread selection desired by all to accompany their meal. But in modern society, no one really has time to spend hours making rolls that will only last one meal time. However I wanted to discover why it was that the dinner roll was different from just regular bread. What made it so different to be in a class of it’s own?
I started my making one kind of dinner roll but treating it differently. The dough on the right was left at room temperature over night (it actually needed to go in the fridge over night…..oops) and the other I made and let rest in the fridge for about one and a half hours. This process will help develop flavor for the end result.
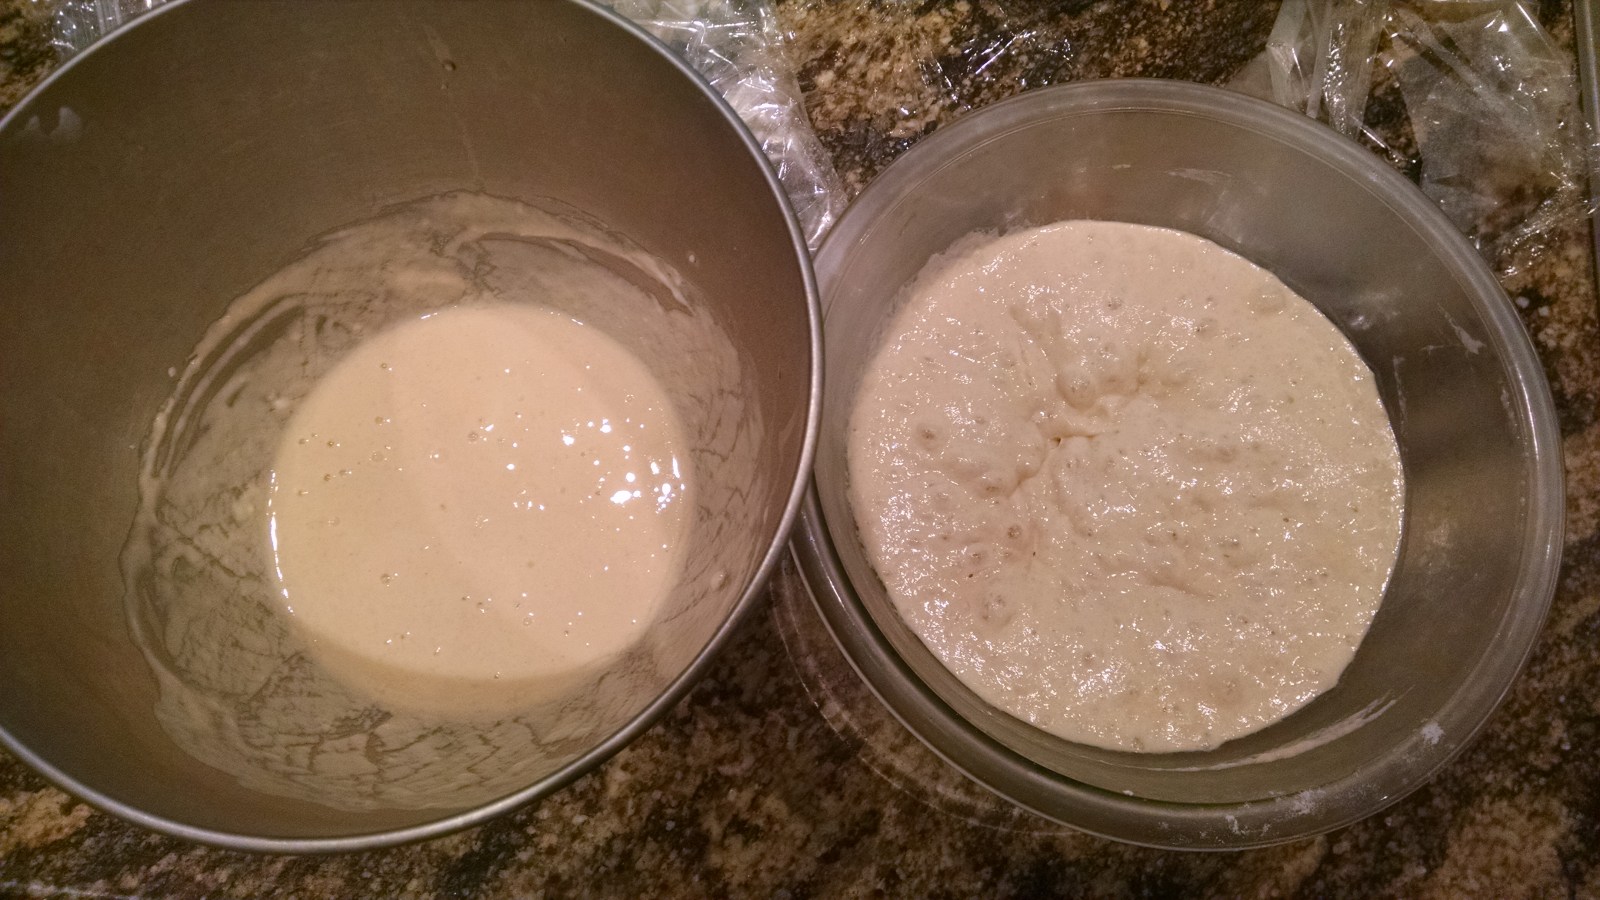
The dough below is the one that rested in the fridge for one and a half hours. It was very smooth but definitely very sticky and hard to handle.
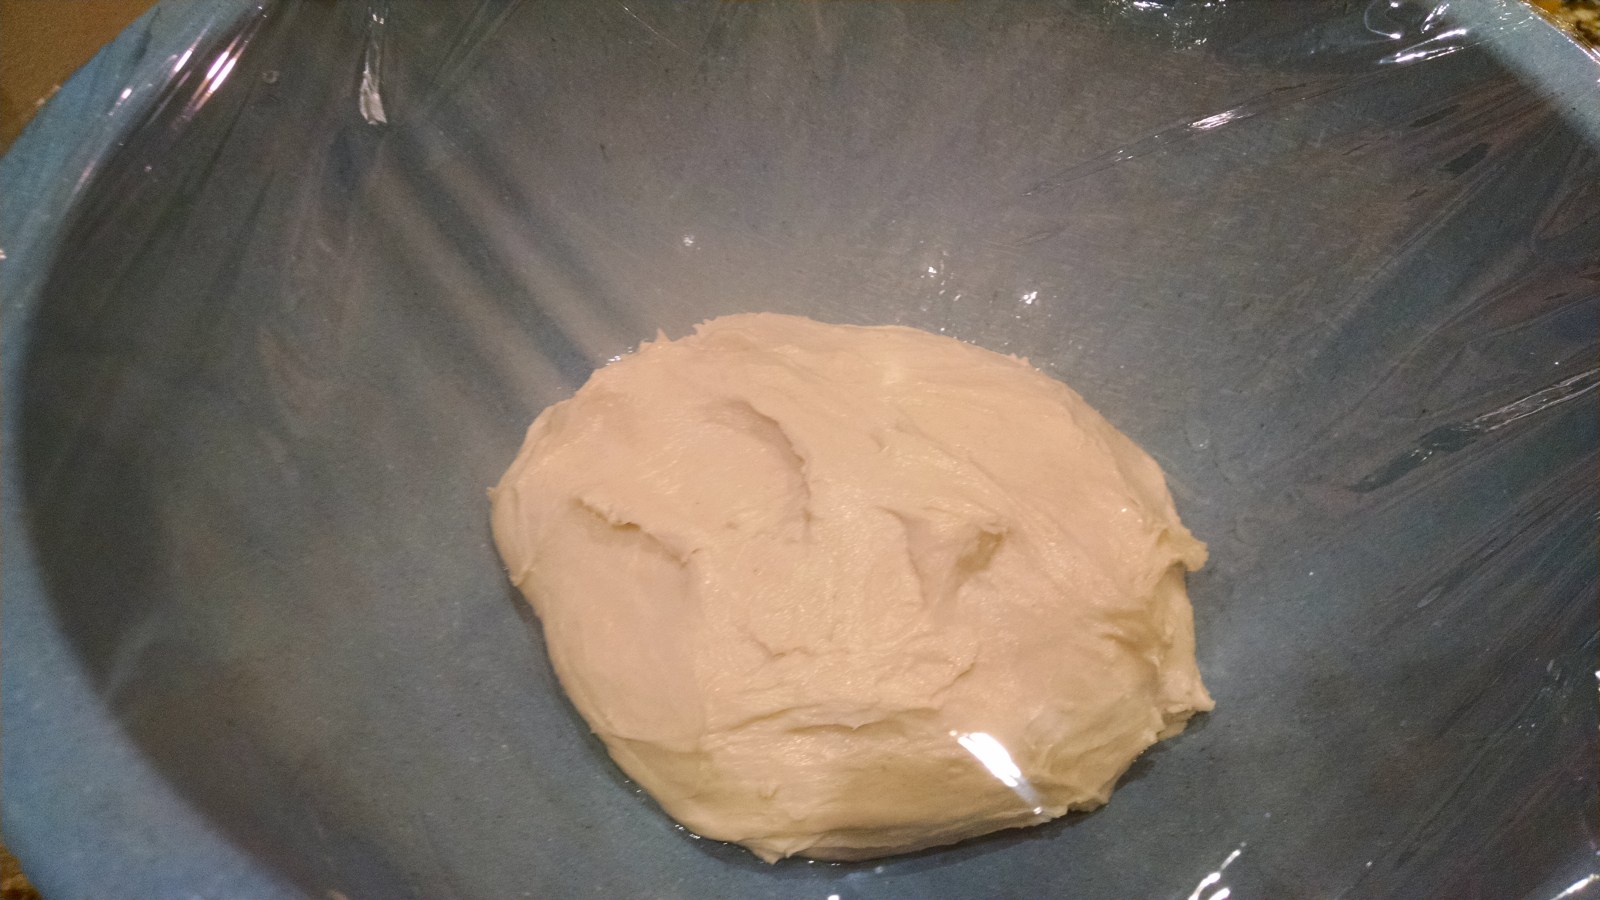
The dough pictured below is the one that was allowed to rest at room temperature over night. The dough is smooth, elastic and very easy to shape and mold.
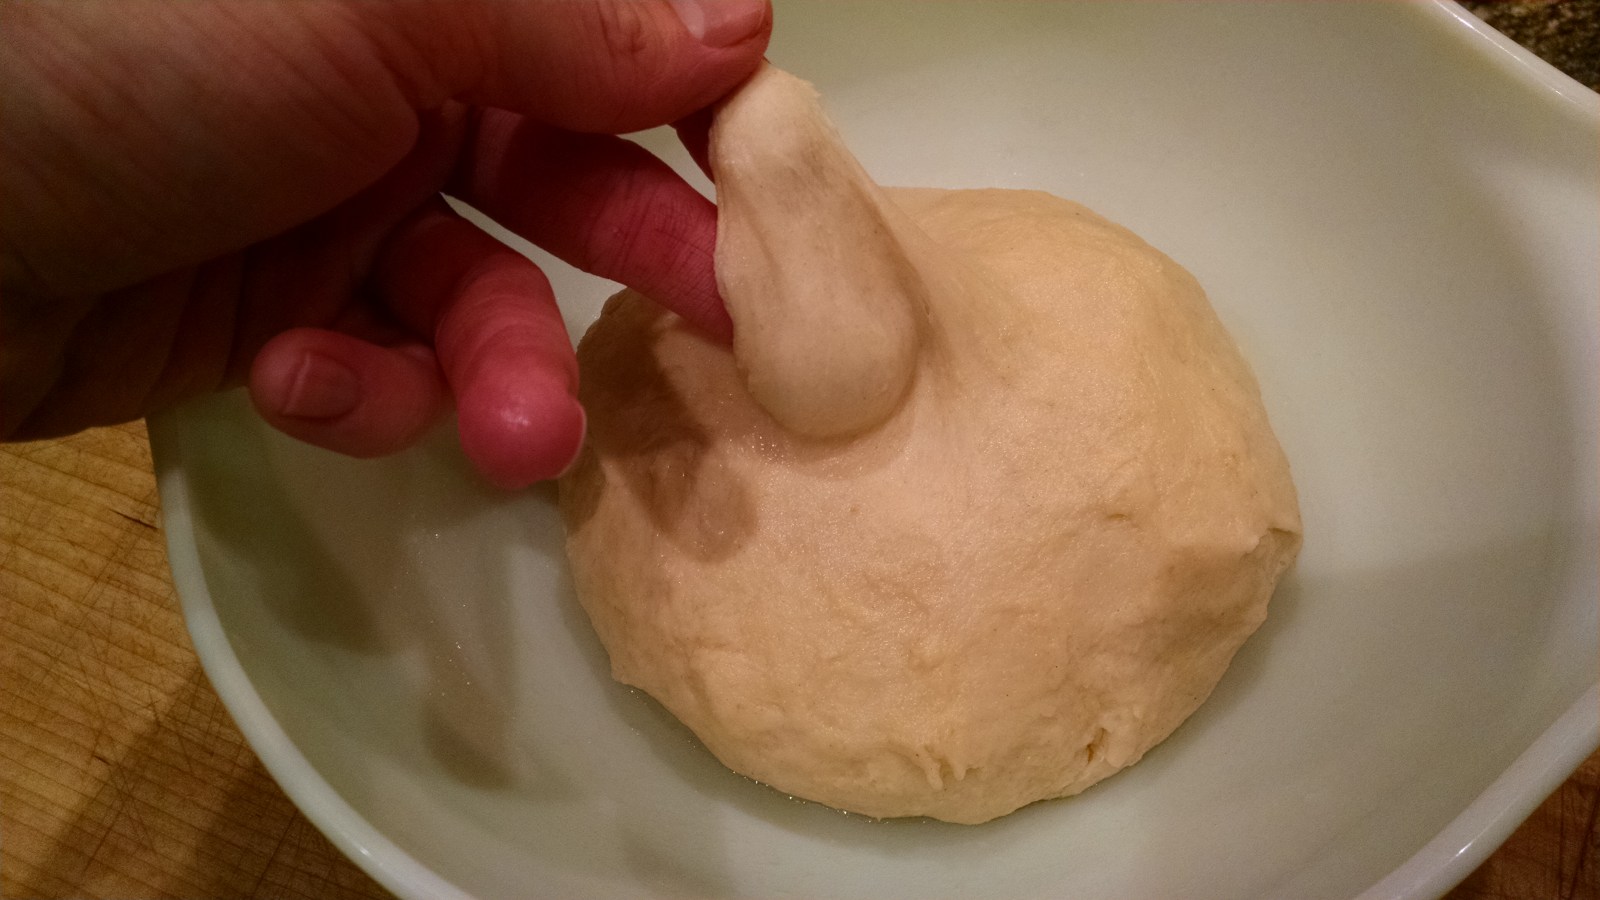
Next is really just a bunch of waiting. It needed to rise, then be punched down and let rise again. Once that’s all done the shaping is next.To shape them, just pull the dough to be about twelve to fifteen inches long and, using a knife or pastry cutter, cut them into equal pieces.
The rest is easy, the dough just needs to be rolled into a ball and stretched, starting from the top, gently pulling the dough down to the bottom and pinched together. This makes the top smooth and shinny when it is baked.
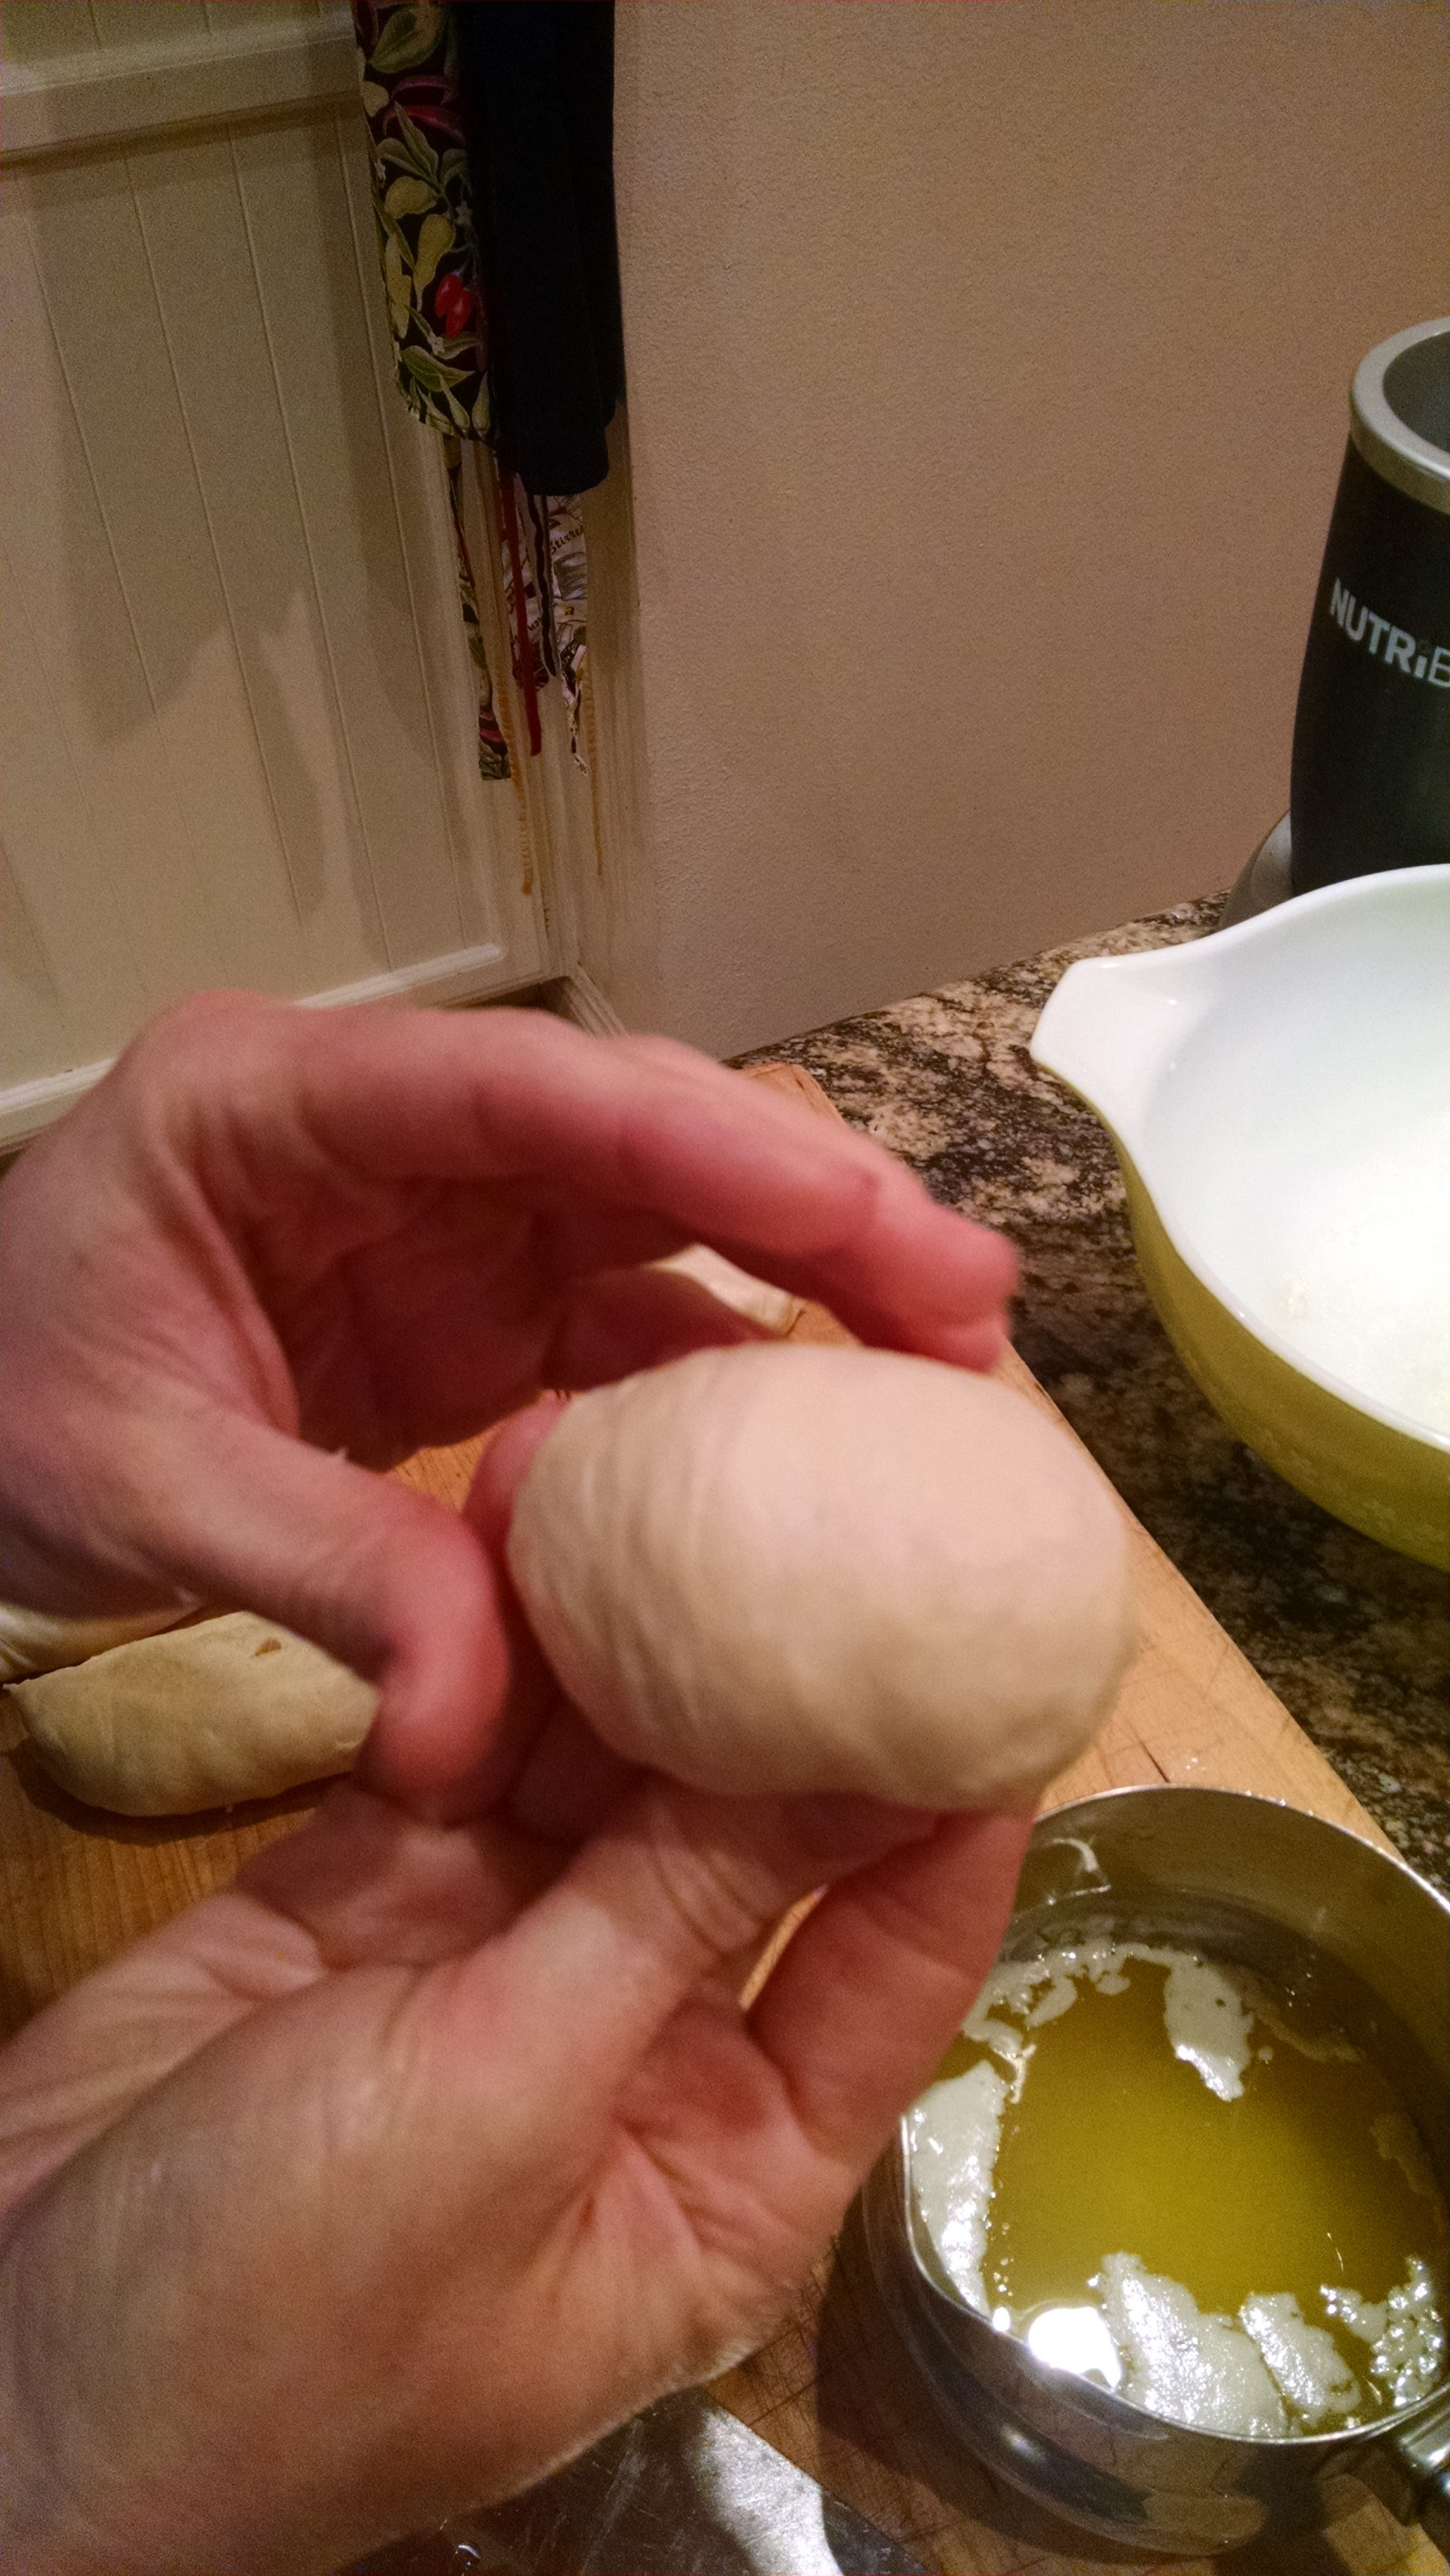
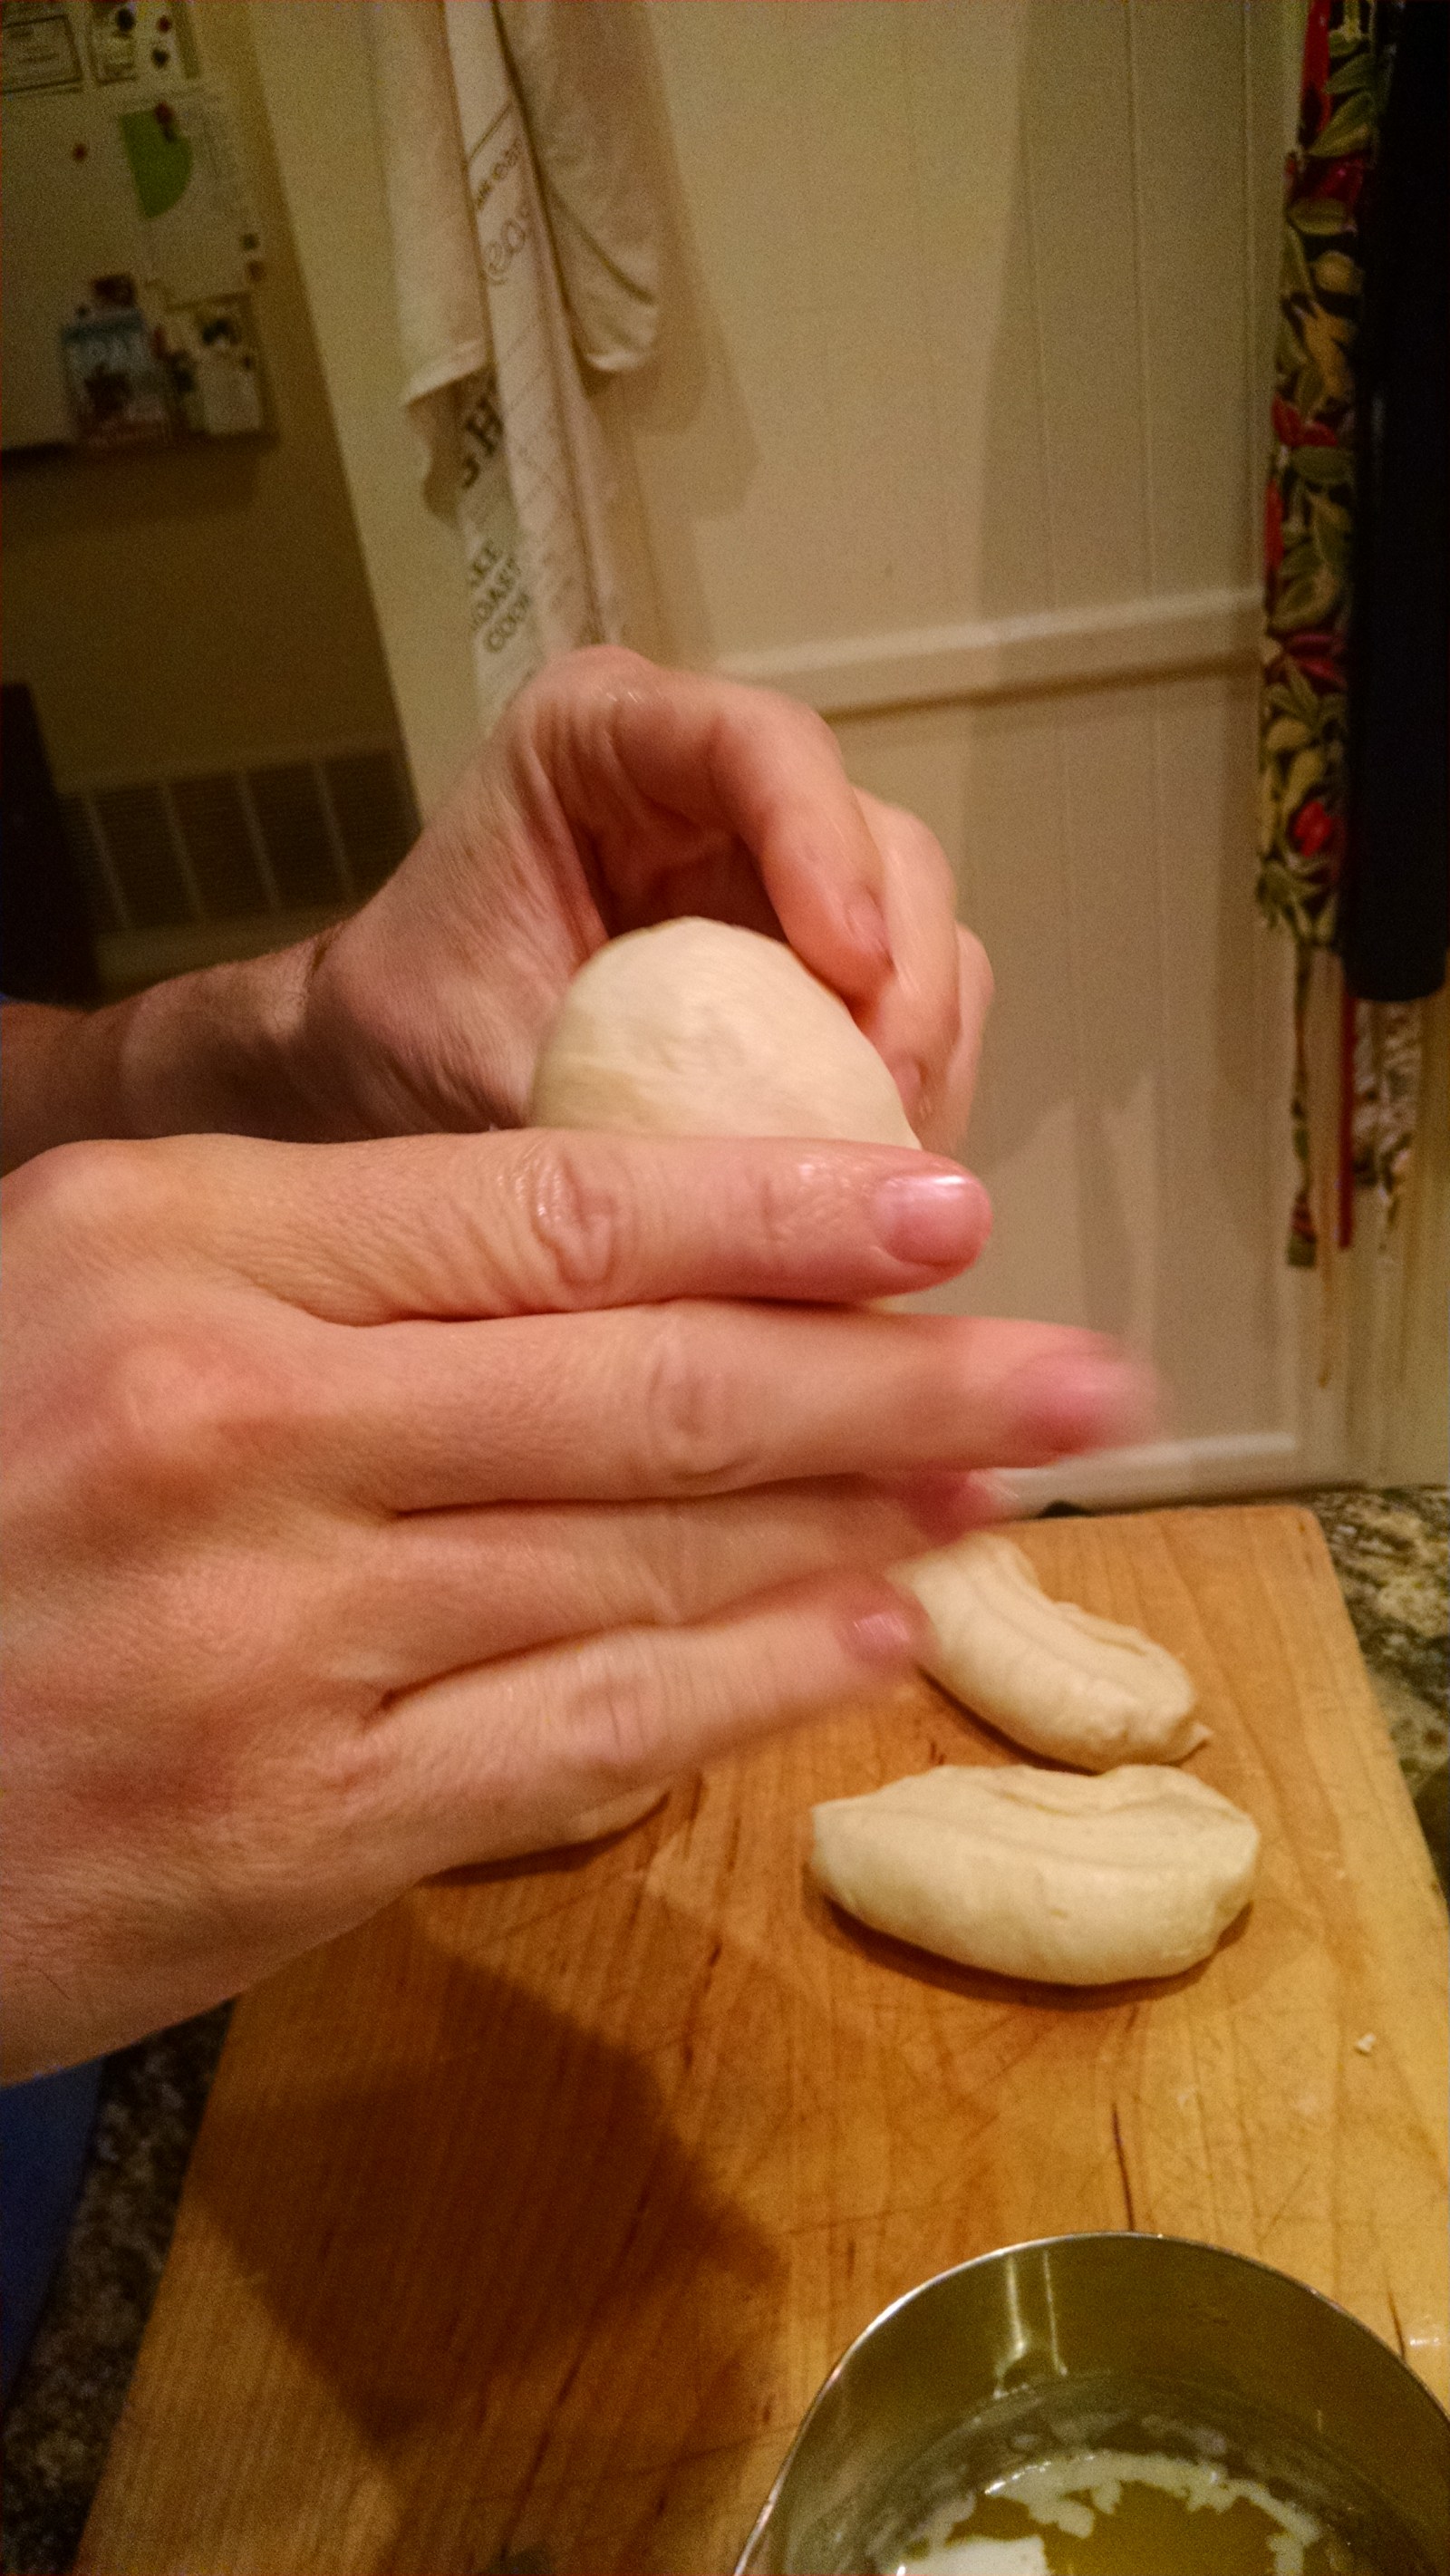
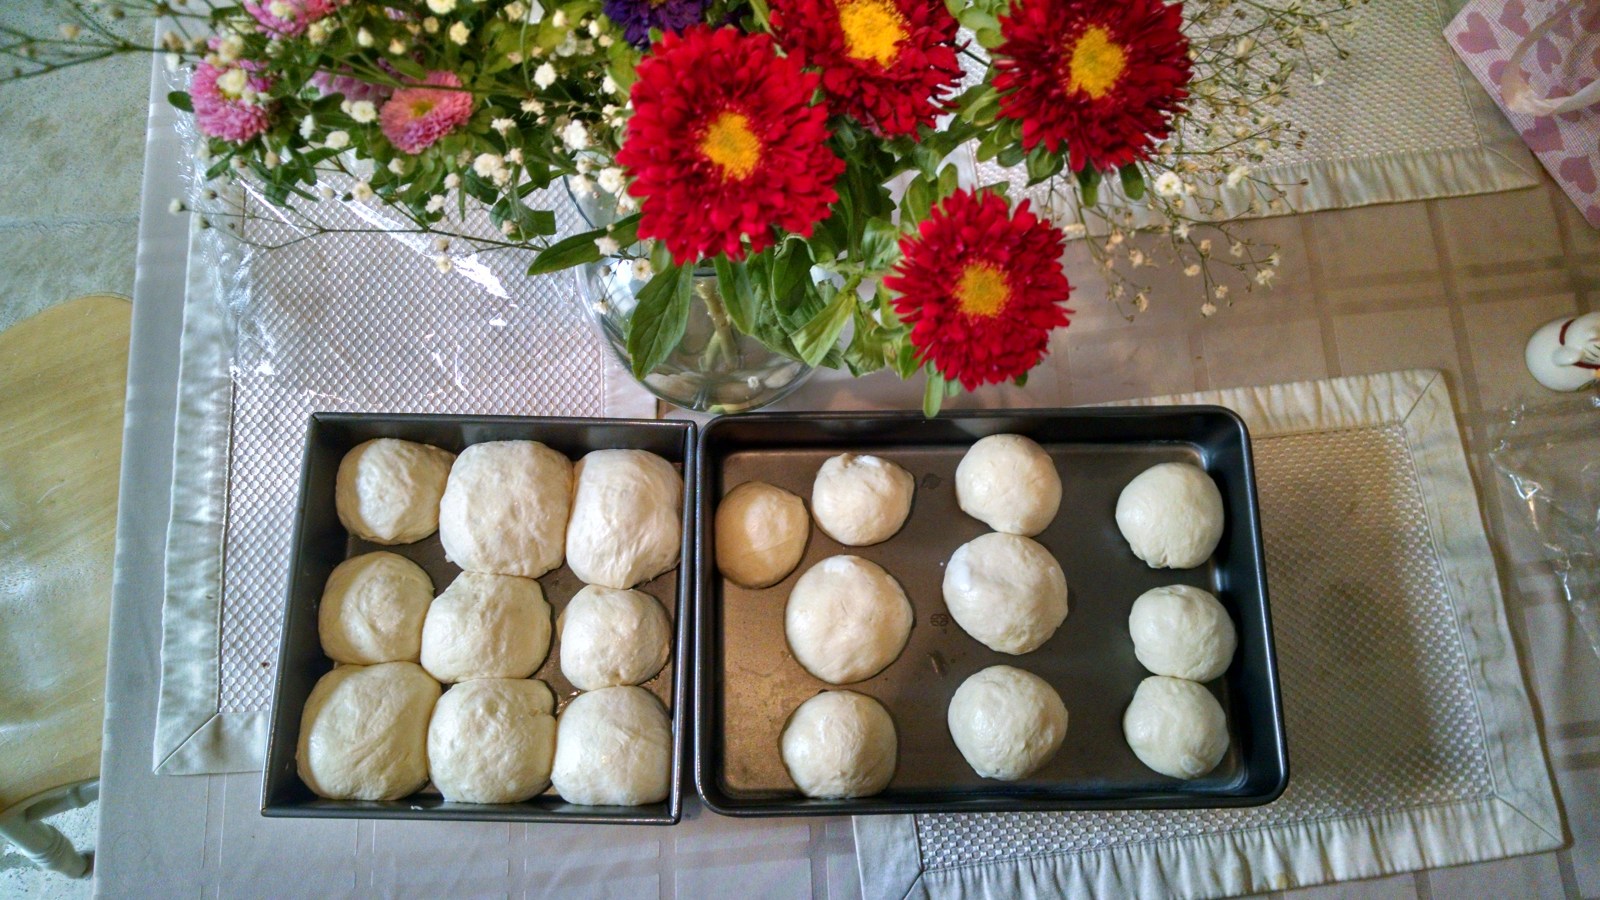
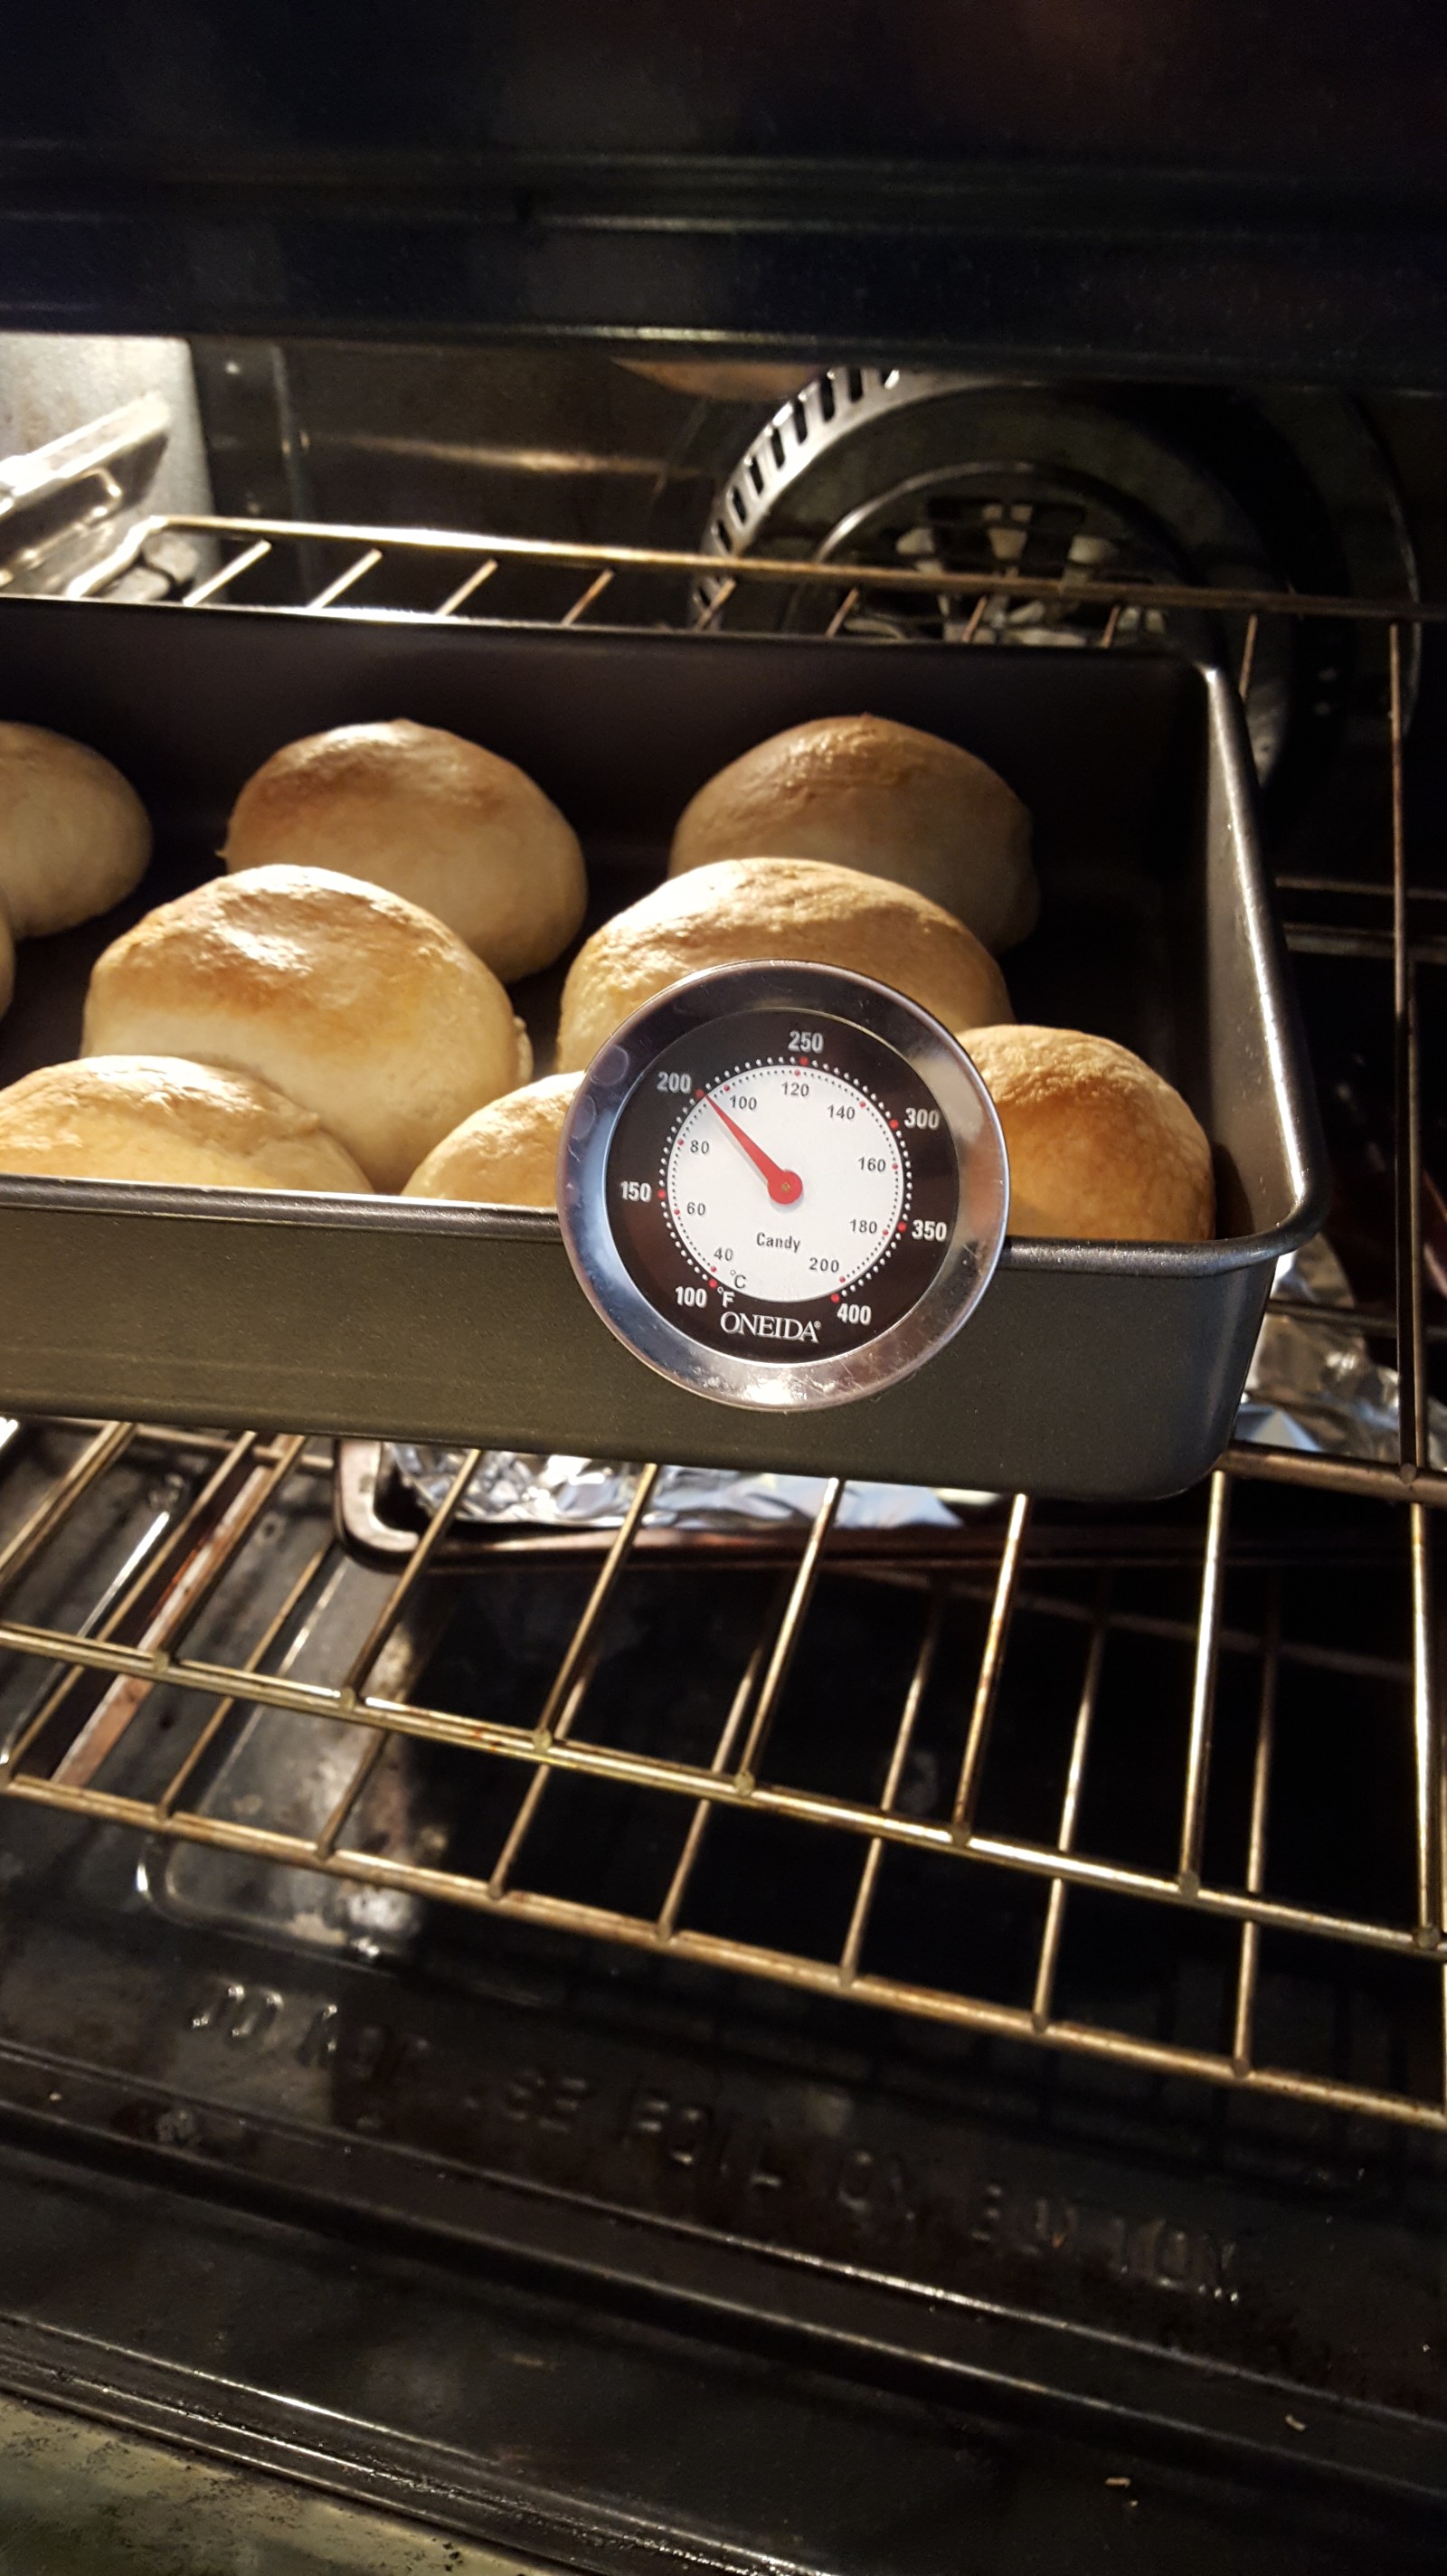
After all that is done, the dough is literally dipped into melted butter and placed in the baking pan. As you can see above, the two pans have very different looking dough in them. The left pan has the dough that rested in the fridge for an hour and a half and the right is the dough that rested at room temperature over night. Both were soft but the dough on the right was much more pliable during the shaping process.
Both rolls were very good; the texture of the over night dough was only slightly firmer than the other. However, the flavor of the firmer dough was much stronger and more developed than that of the one that rested for only an hour and a half. It was suggested in the recipe to rest the dough up to twenty four hours in the fridge to develop flavor. That being said, I do see the point of allowing for a long resting time in the beginning as the difference in flavor between the two dough were substantial.
In the end, the dough for dinner rolls is only slightly different than that of regular sandwich bread; dinner rolls have a bit more butter in them that makes them softer. All in all, the rolls turned out quite well. I do see why it is a desired thing to have dinner rolls, they soft and light and melt in your mouth, making it ideal to have with a meal.
Soft Butter Dinner Rolls
These are classic American pull-apart rolls: a soft dough enriched with milk, butter, egg and a little sugar, baked close together so the sides stay tender. They belong to the same family as the Parker House roll, made famous by Boston's Parker House hotel in the 1870s.
Ingredients
Dough
- 480 g unbleached all-purpose flour (4 cups)
- 240 g whole milk, lukewarm (1 cup)
- 50 g egg (1 large)
- 50 g granulated sugar (1/4 cup)
- 9 g fine sea salt (1 1/2 tsp)
- 8 g instant yeast (2 1/2 tsp)
- 70 g unsalted butter, soft (5 tbsp)
Finish
- 40 g unsalted butter, melted (3 tbsp)
- Flaky sea salt, optional
Method
- Mix everything except the butter on low speed for 3 minutes. Add the butter and knead on medium for 7 to 9 minutes, until the dough is smooth, supple and slightly tacky.
- Cover and let rise at warm room temperature for 60 to 90 minutes, until doubled.
- Turn out and divide into 15 pieces of about 60 g. To round each one, flatten it, gather the edges to the centre, flip it seam side down, and roll it under a cupped hand against an unfloured bench until the surface is tight and smooth.
- Arrange in 3 rows of 5 in a buttered 23 x 33 cm (9 x 13 in) pan. Cover and proof for 45 to 60 minutes, until the rolls are puffy and touching.
- Brush lightly with some of the melted butter. Bake at 375°F (190°C) for 18 to 22 minutes, until evenly golden brown and 190°F (88°C) in the centre.
- Brush with the remaining melted butter as soon as they leave the oven and sprinkle with flaky salt. Cool in the pan for 10 minutes, then lift out and serve warm.
Chef’s notes
- Heavy rolls are usually underproofed. They should look swollen and hold a slight dent when pressed before they go into the oven.
- Tight rounding gives a tall roll. A loosely shaped roll spreads sideways and bakes up flat.
- To make ahead, shape the rolls, cover, and refrigerate overnight. Let them stand at room temperature for about 1 hour, until puffy, then bake.
- For rolls that stay soft for several days, cook 25 g of the flour with 120 g of the milk into a tangzhong paste first, as in the milk bread recipe.
Drawn from the methods of
- King Arthur Baking Company
- Rose Levy Beranbaum, The Bread Bible (2003)
- Peter Reinhart, The Bread Baker's Apprentice (2001)
Corey has not published his own formula for this piece. This reference recipe is compiled from the published methods of the chefs and bakers listed above, written in our own words.